Winterizing your ICO is just as important as winterizing your pool. If you wish to winterize your spa, you must also winterize your ICO SPA. Please follow this process. It's part of good practice to preserve the life and reliability of your sensors and battery.
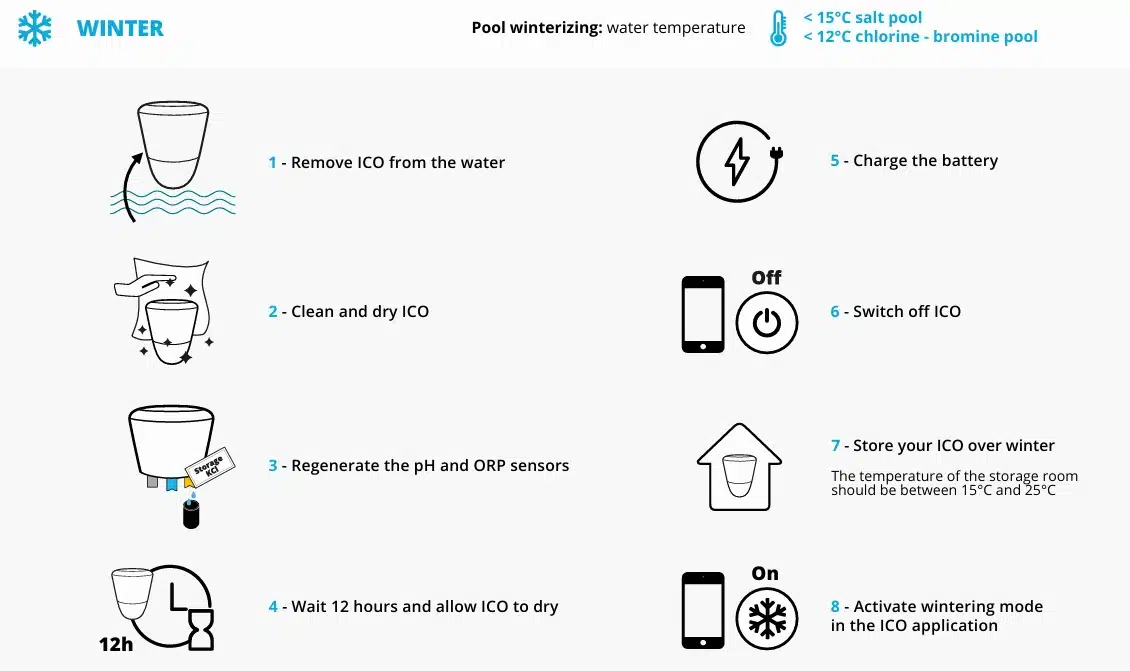
Your ICO appliance is winterised at the same time as your pool/spa, i.e. when the water temperature is below 12°C for chlorine bromine pools and 15°C for salt pools.
Voici les étapes pour hiverner l’appareil sans oublier l’application ICO.
It's possible that after a season in the water, your ICO (outer shell) and probes may be covered with an oily film or impurities.
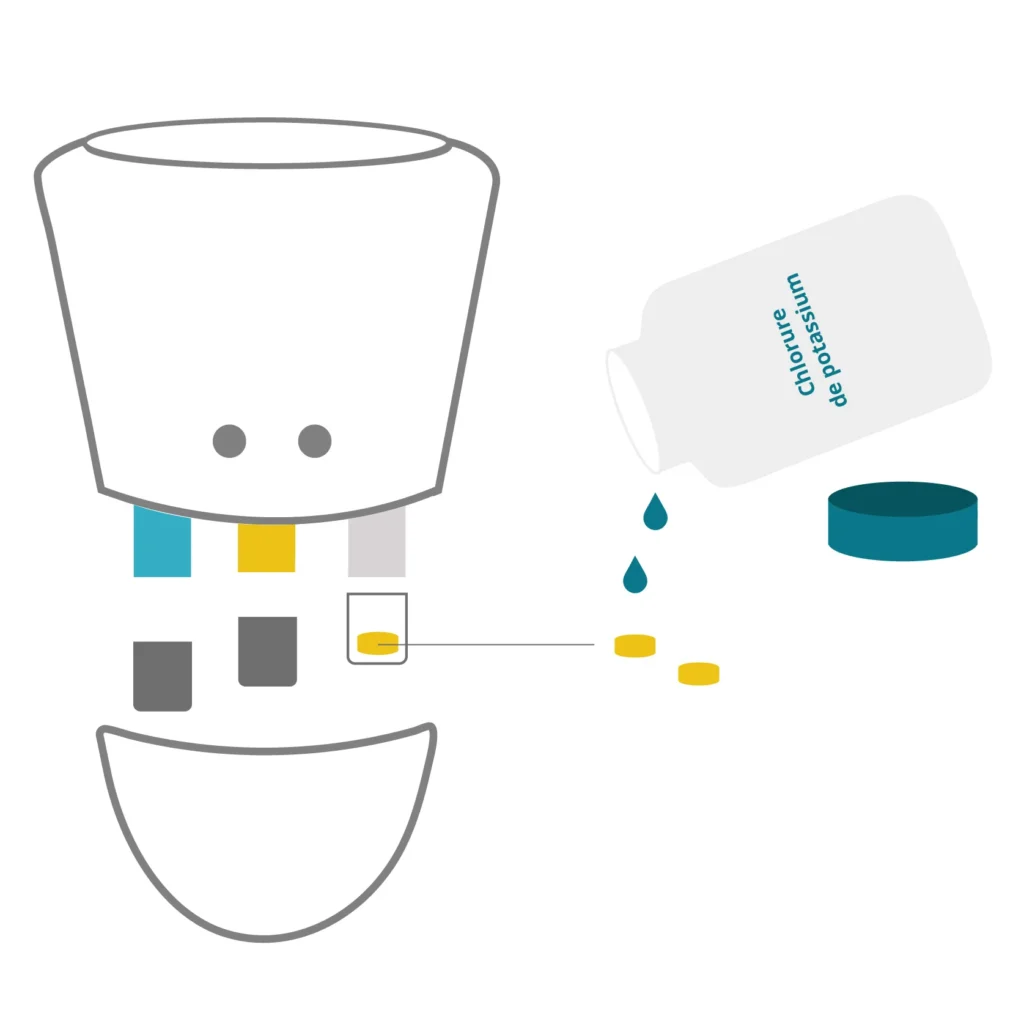
Sensor regeneration with KCl-storage concerns pH and ORP sensors exclusively.
It is now important to leave ICO to dry for 12 hours in a room at room temperature.
After this time, check the battery charge level in your ICO application. If it is below 80%, recharge your device using the USB cable supplied.
More info on the procedure for switching ICO on and off.
Once your ICO has been switched off and your sensors protected, store it in a clean, dry place. The temperature of the storage room should be between 15°C and 25°C throughout the winter. A lower temperature could cause irreparable damage to the probes.
Now all you have to do is winterise the ICO application as described below until the next season!
Open the application : select your pool or spa to winterize
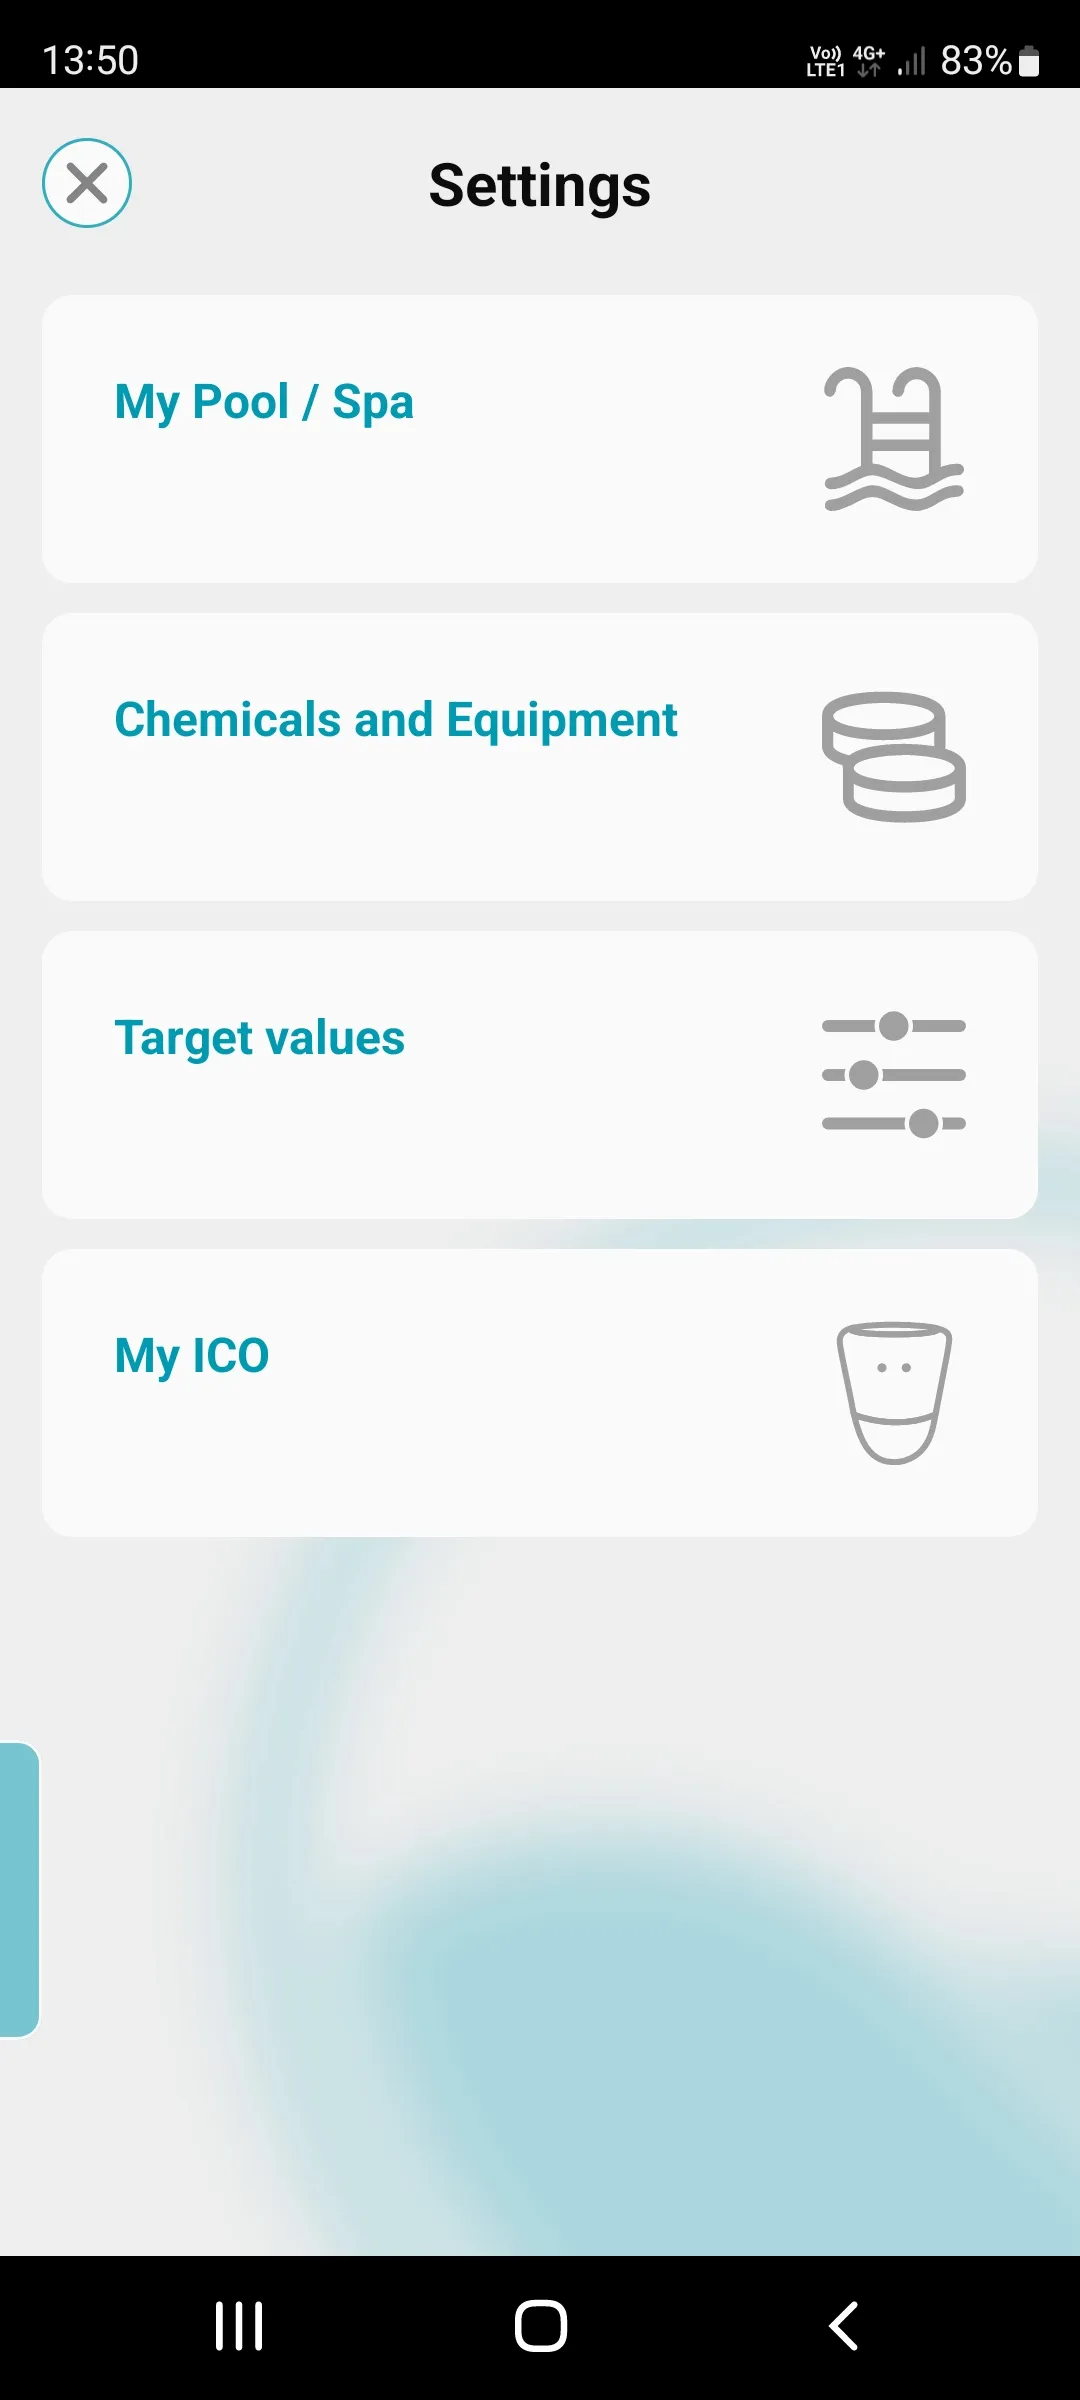
Click on the icon settings and then on My pool / My spa.
In the section Winteringselect Activate / Deactivate
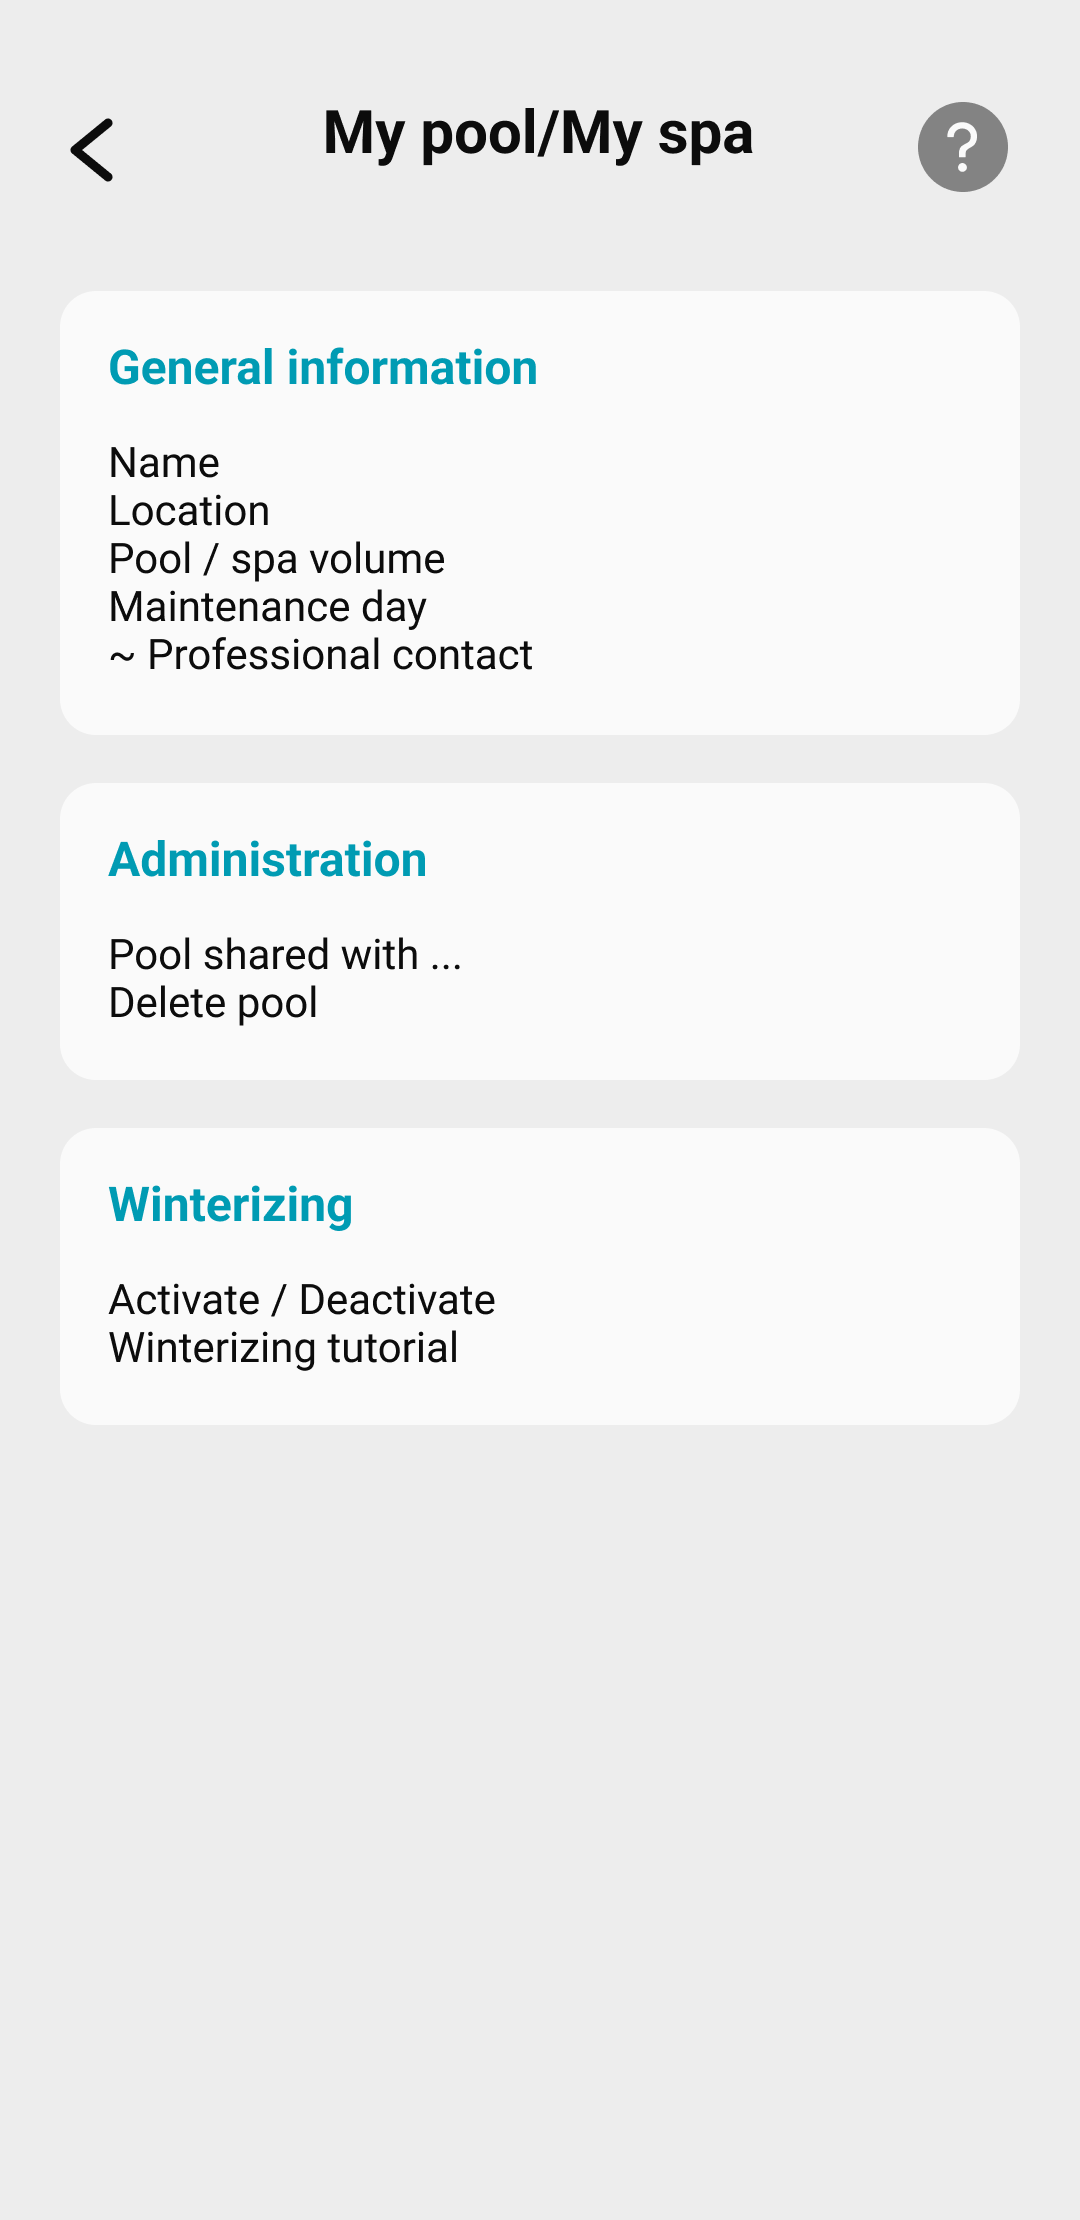
In the section Wintering select Activate / Deactivate, and then activate « Winterize my pool /spa » and click on Continue.

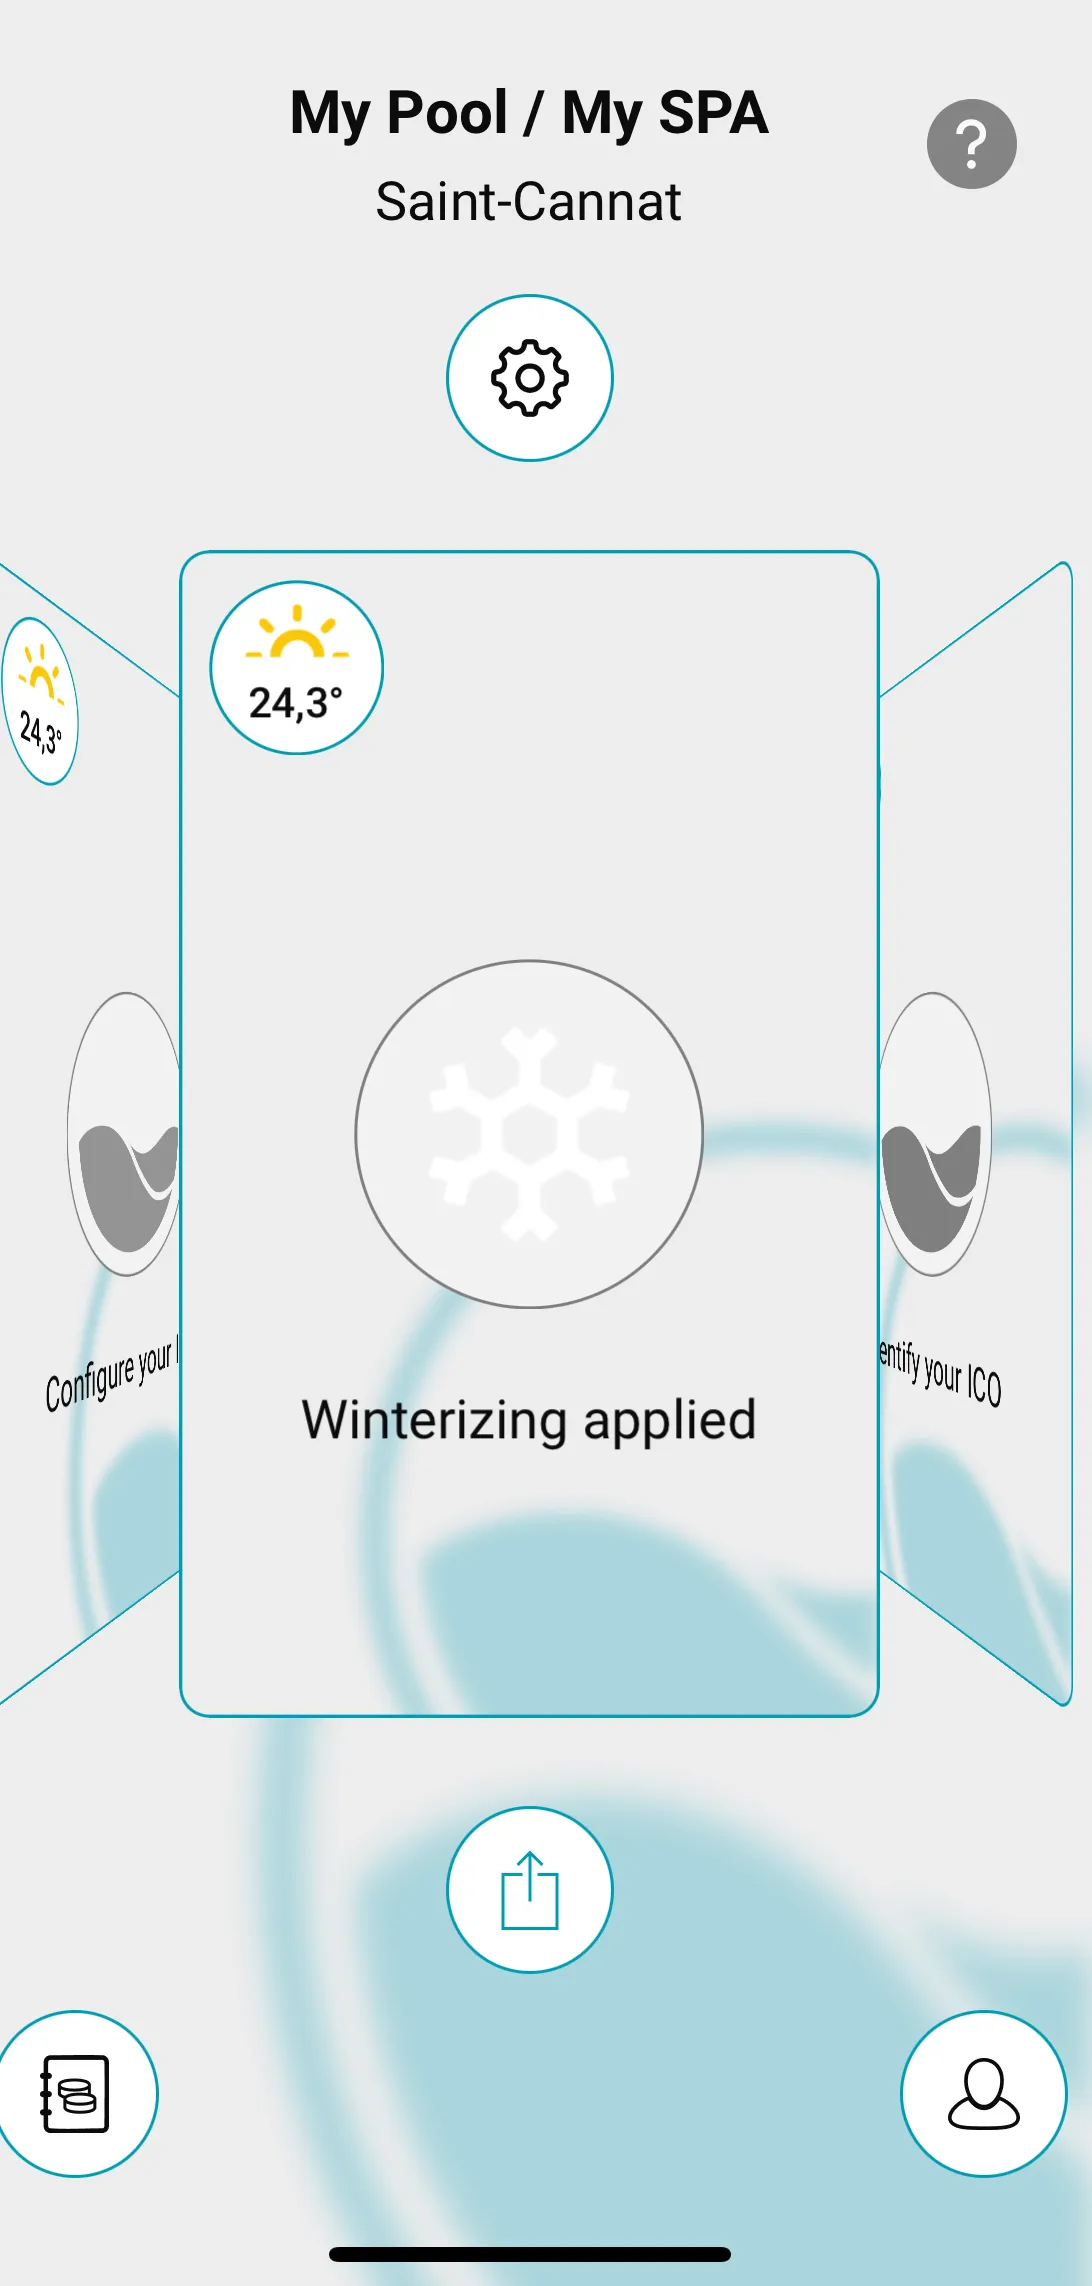
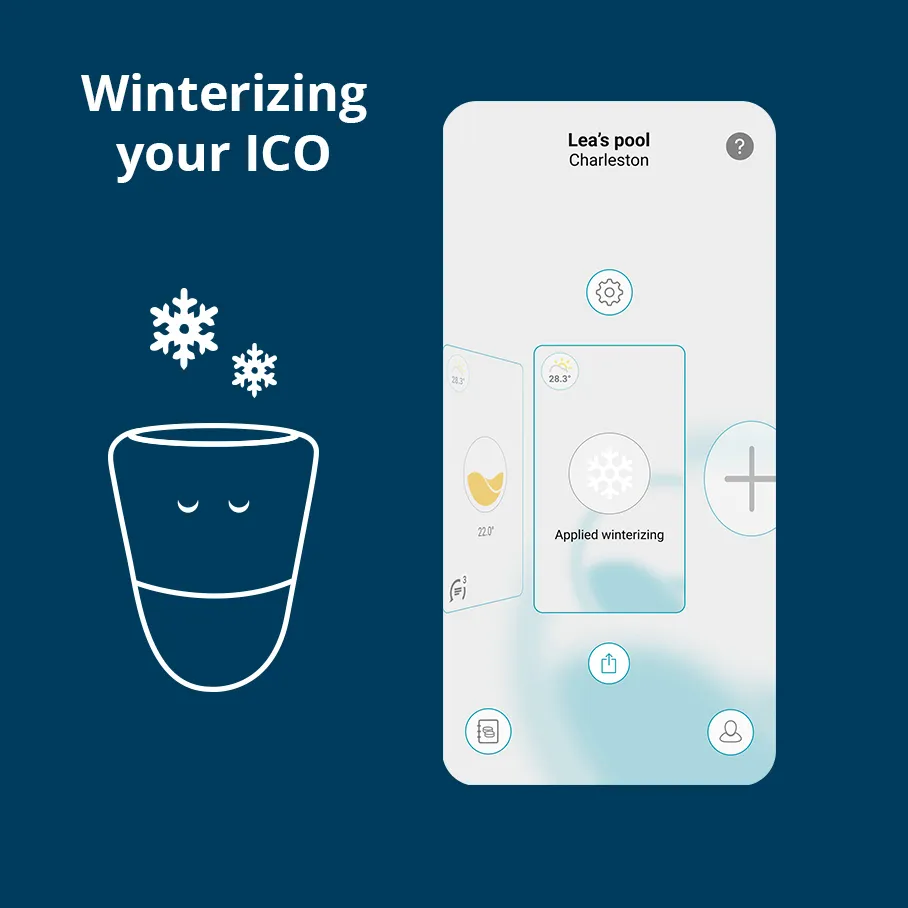
When the winterizing mode is on , a snowflake icon appears on your pool profile. Access to data is temporarily disabled until your pool is opened.To reactivate your ICO, click on the snowflake then validate “end of wintering” .
Click in the link to follow our guideline how to winterize a pool. or winterize your spa.