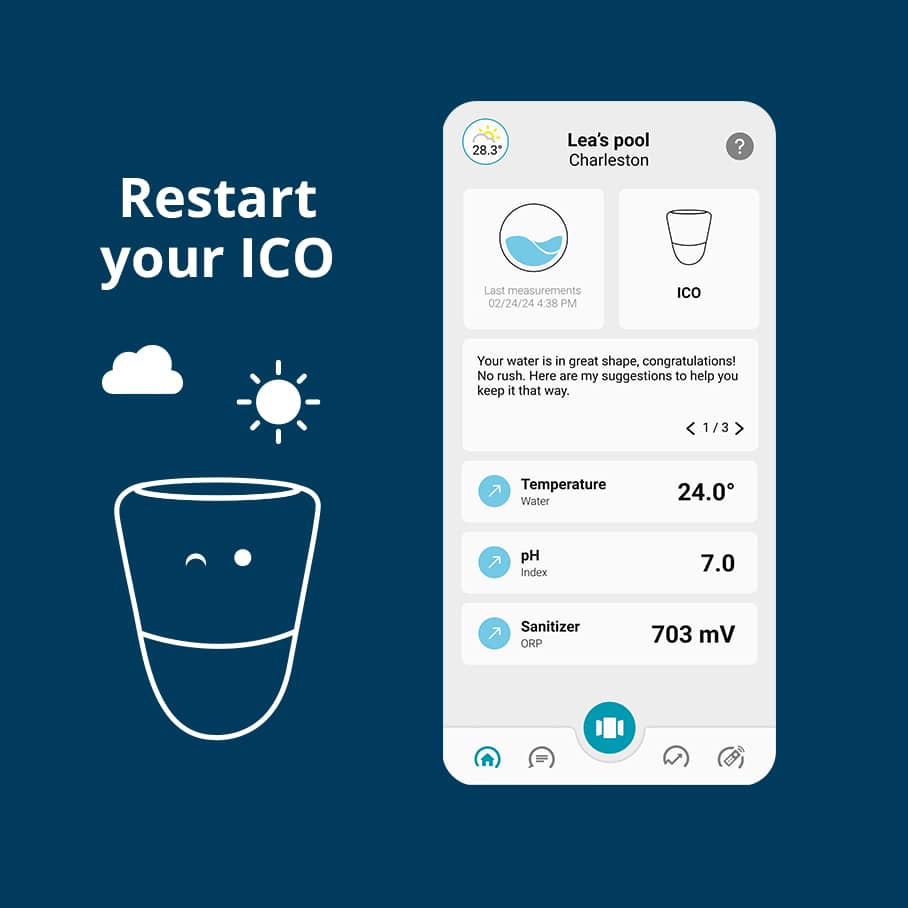
If you have winterised your pool/spa and your ICO, we invite you to follow this step-by-step guide to restart your ICO and the application. This procedure is necessary to get the new season off to a good start.
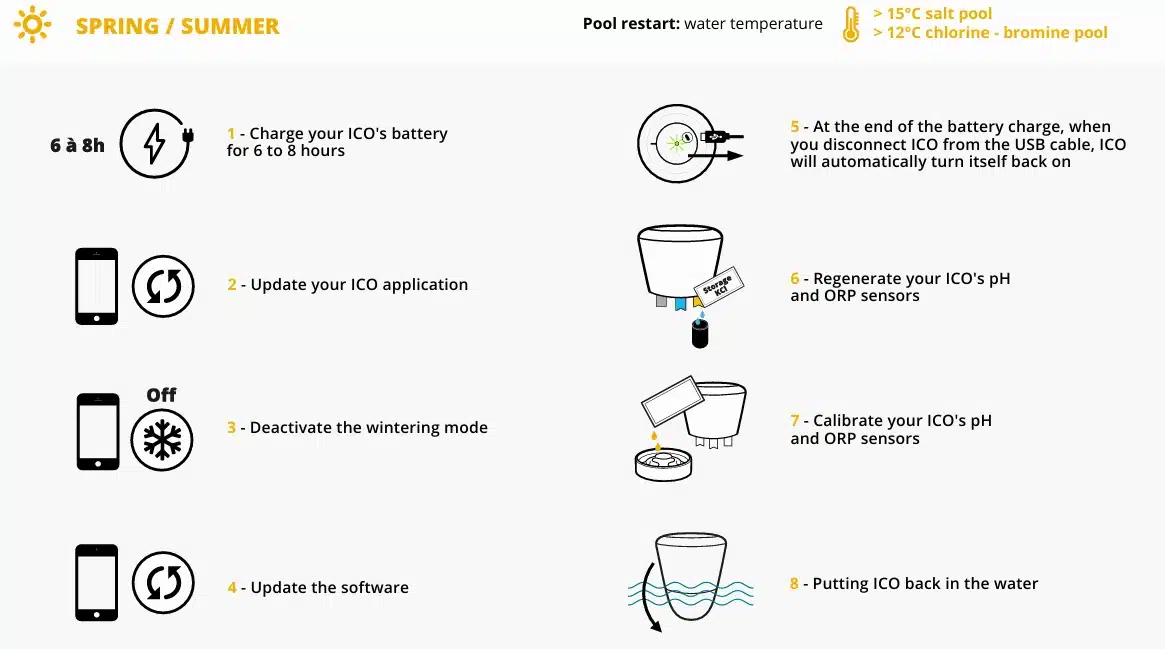
Charge your ICO's battery for 6 to 8 hours, using the USB cable supplied.
During the charging time, you can carry out steps 2 to 5.
On your smartphone, open the ICO application. An updated version of your application may be available.
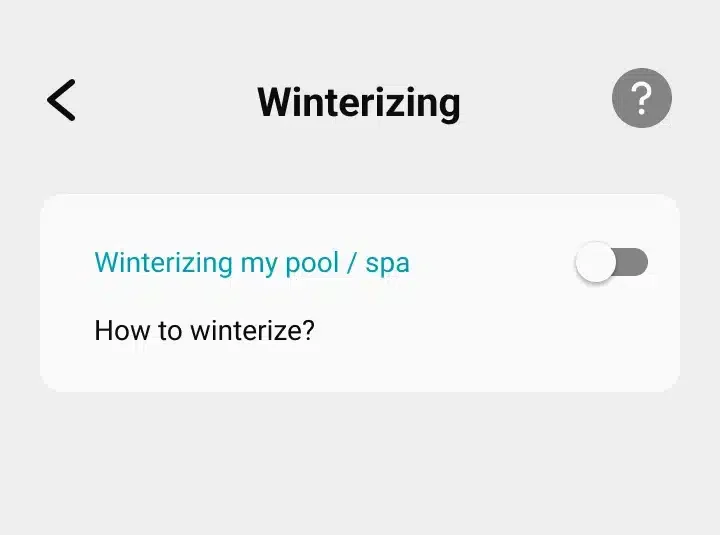
On the ICO application, deactivate the Winter mode.
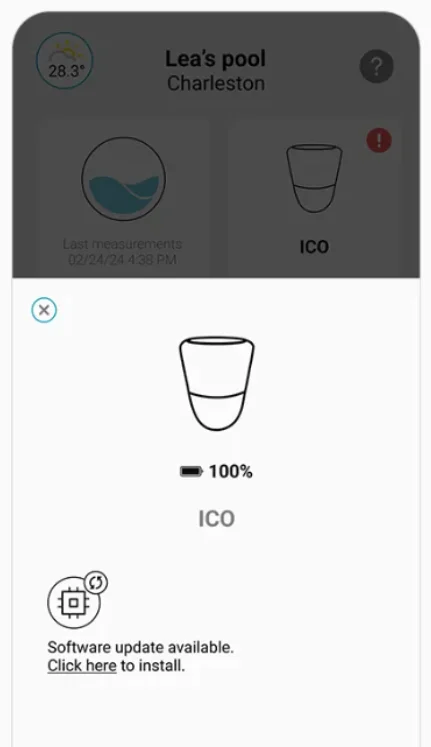
On your application, in the ICO block, check whether there is a small red exclamation mark. If this is the case, an update of your ICO software may be available. Install it by following the instructions. It is essential to place your mobile phone close to your ICO. This will keep Bluetooth connectivity active.
Find out more about updating your software.
At the end of the battery charge, when you disconnect ICO from the USB cable, ICO will automatically turn itself back on.
Regenerating the probes rewets the sensor bulb glass and recharges the electrolyte solution it contains. Use the KCl (potassium chloride - storage) liquid included in the Ondilo calibration kit. En savoir plus sur la régénération des sondes.
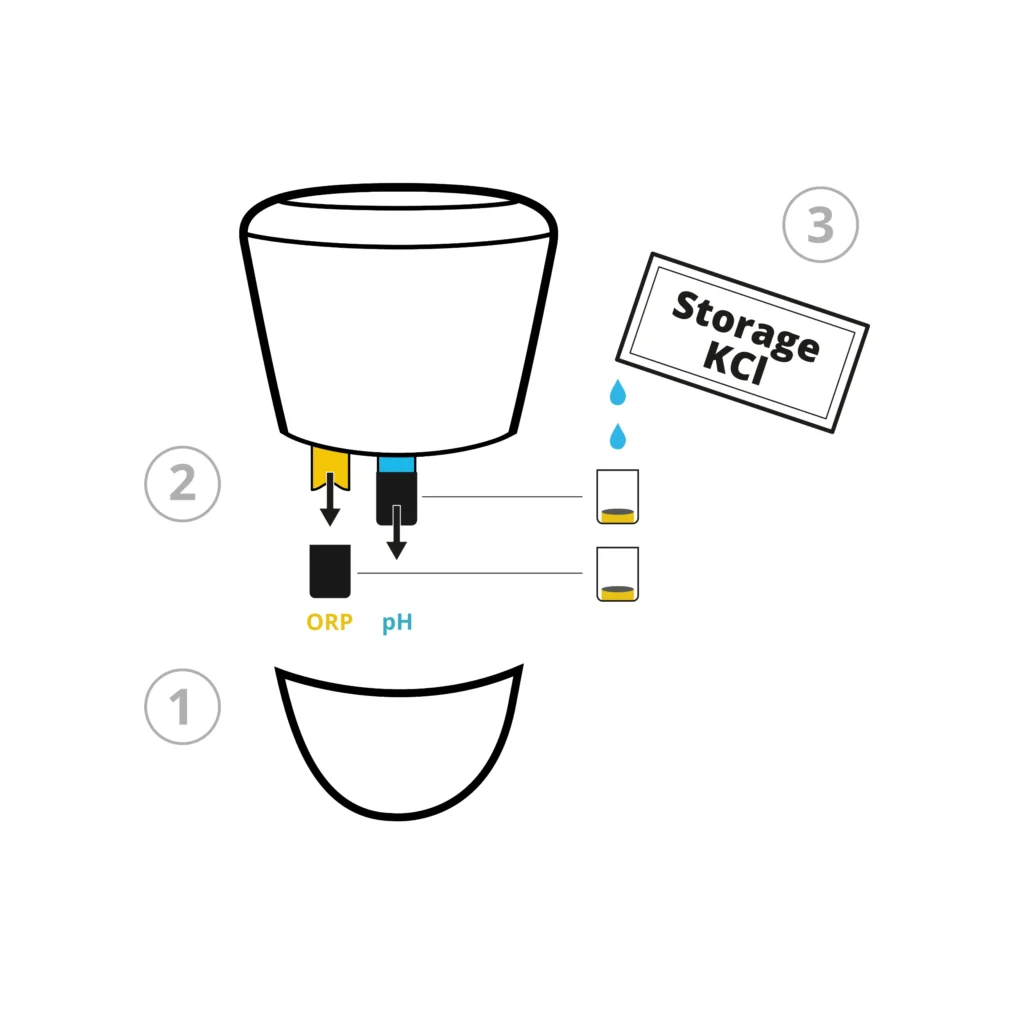
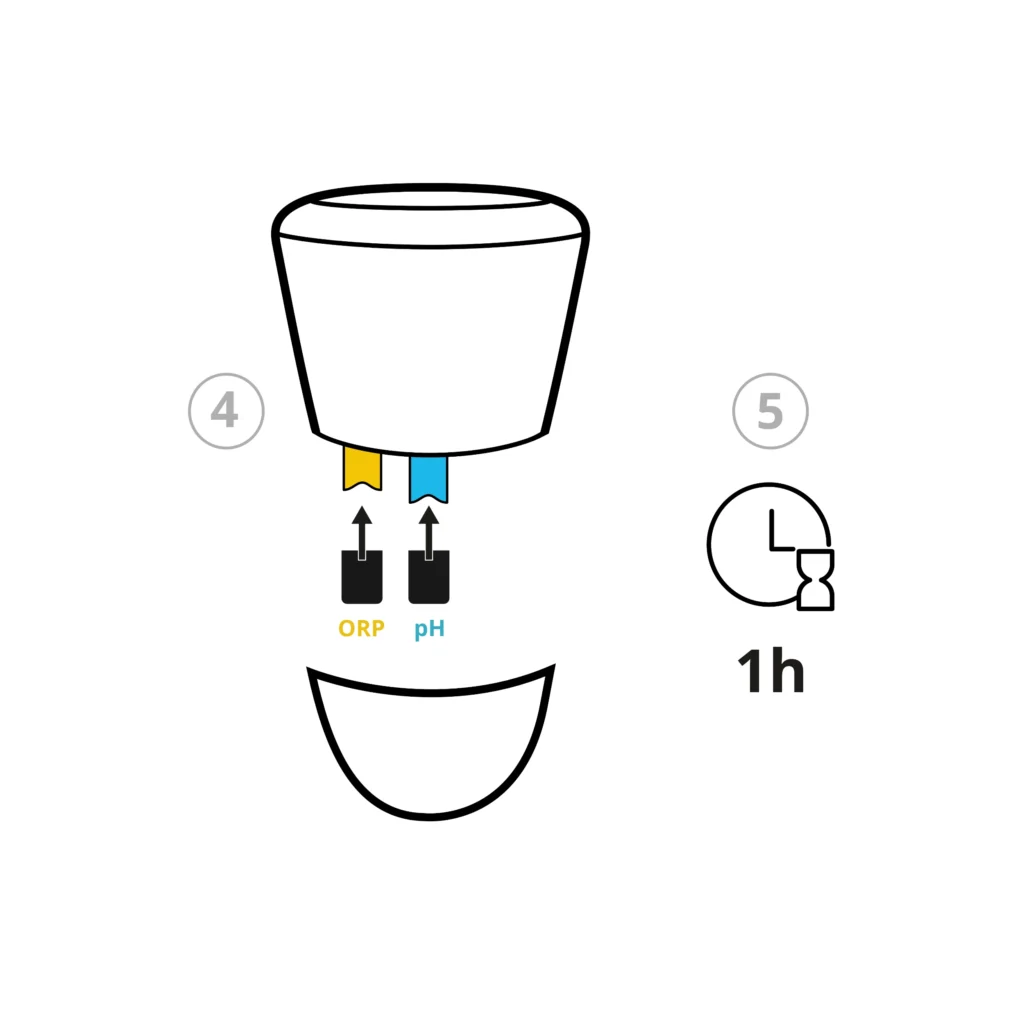
This step is necessary at the start of each season to guarantee the quality of the measurements and maintain your ICO. Get the calibration kit.
Please refer to the assistance page dedicated to probe calibrationwhich explains everything in detail.
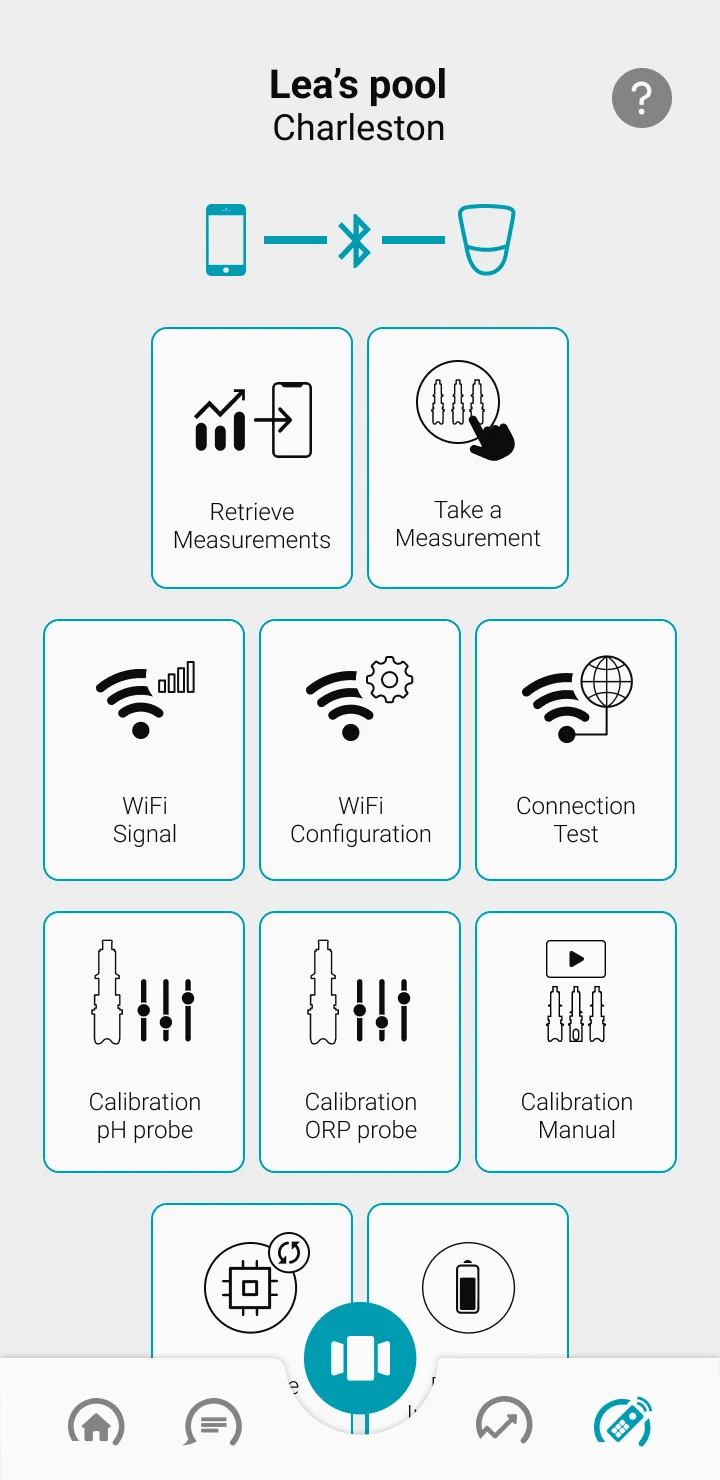
You can now put ICO back in your pool or spa. Your appliance will automatically start measuring water quality. After 6 hours (i.e. 6 measurements), ICO will be able to give you an initial recommendation for improving water quality, if necessary.
ICO is now ready to monitor water quality! All you have to do now is follow its recommendations for a carefree swimming season.

| Cookie | Duration | Description |
|---|---|---|
| cookielawinfo-checkbox-analytics | 11 months | This cookie is set by GDPR Cookie Consent plugin. The cookie is used to store the user consent for the cookies in the category "Analytics". |
| cookielawinfo-checkbox-functional | 11 months | The cookie is set by GDPR cookie consent to record the user consent for the cookies in the category "Functional". |
| cookielawinfo-checkbox-necessary | 11 months | This cookie is set by GDPR Cookie Consent plugin. The cookies is used to store the user consent for the cookies in the category "Necessary". |
| cookielawinfo-checkbox-others | 11 months | This cookie is set by GDPR Cookie Consent plugin. The cookie is used to store the user consent for the cookies in the category "Other. |
| cookielawinfo-checkbox-performance | 11 months | This cookie is set by GDPR Cookie Consent plugin. The cookie is used to store the user consent for the cookies in the category "Performance". |
| viewed_cookie_policy | 11 months | The cookie is set by the GDPR Cookie Consent plugin and is used to store whether or not user has consented to the use of cookies. It does not store any personal data. |