The main difference between ICO V1 and ICO V2 is the way they are switched on: ICO V1 is switched on with a button, while ICO V2 uses a USB cable. For ICO V2, to optimise probe performance, we have added a step involving probe regeneration, using a KCL solution, supplied in the packaging of your ICO.
To install and configure your ICO, watch one of the videos below, depending on the model of your device, or follow the detailed procedure. It is also important to consult the instructions for using ICO.


Quickstart ICO V1
Quickstart ICO V2
Step 1: download and configure the ICO application
Step 2: Switch on and regenerate the ICO sensors
Stage 3: Getting ICO into the water
Step 4: connect ICO to the wifi
Stage 5: Launching the first measures
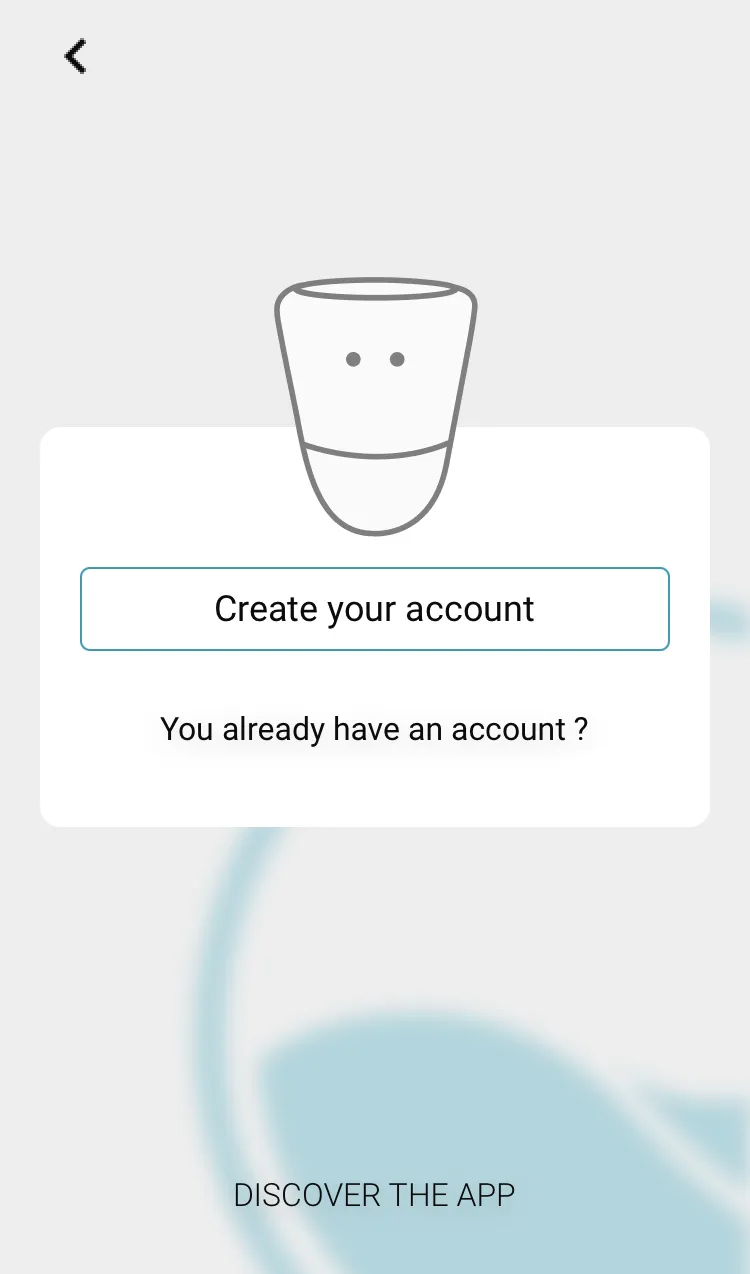
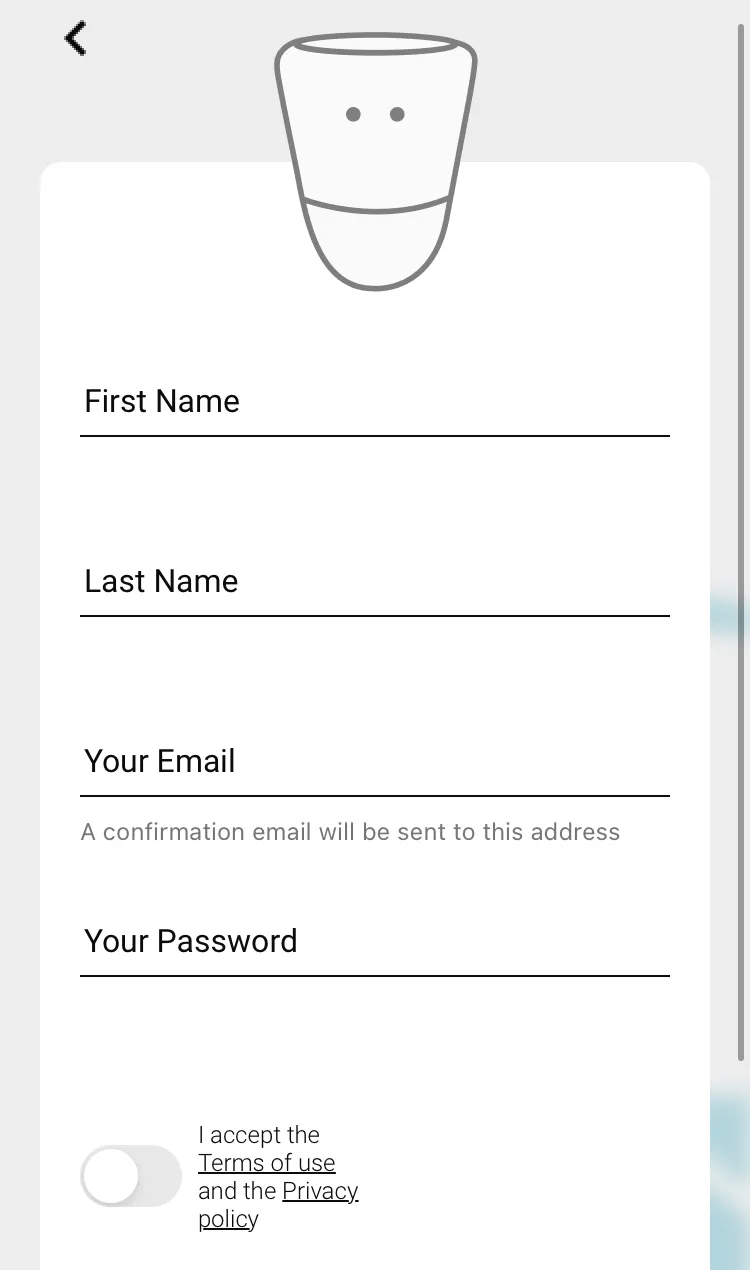
Download the application and open it on your mobile
To create an account, you must accept the terms of use and privacy policy.
Click on the + that appears on your screen

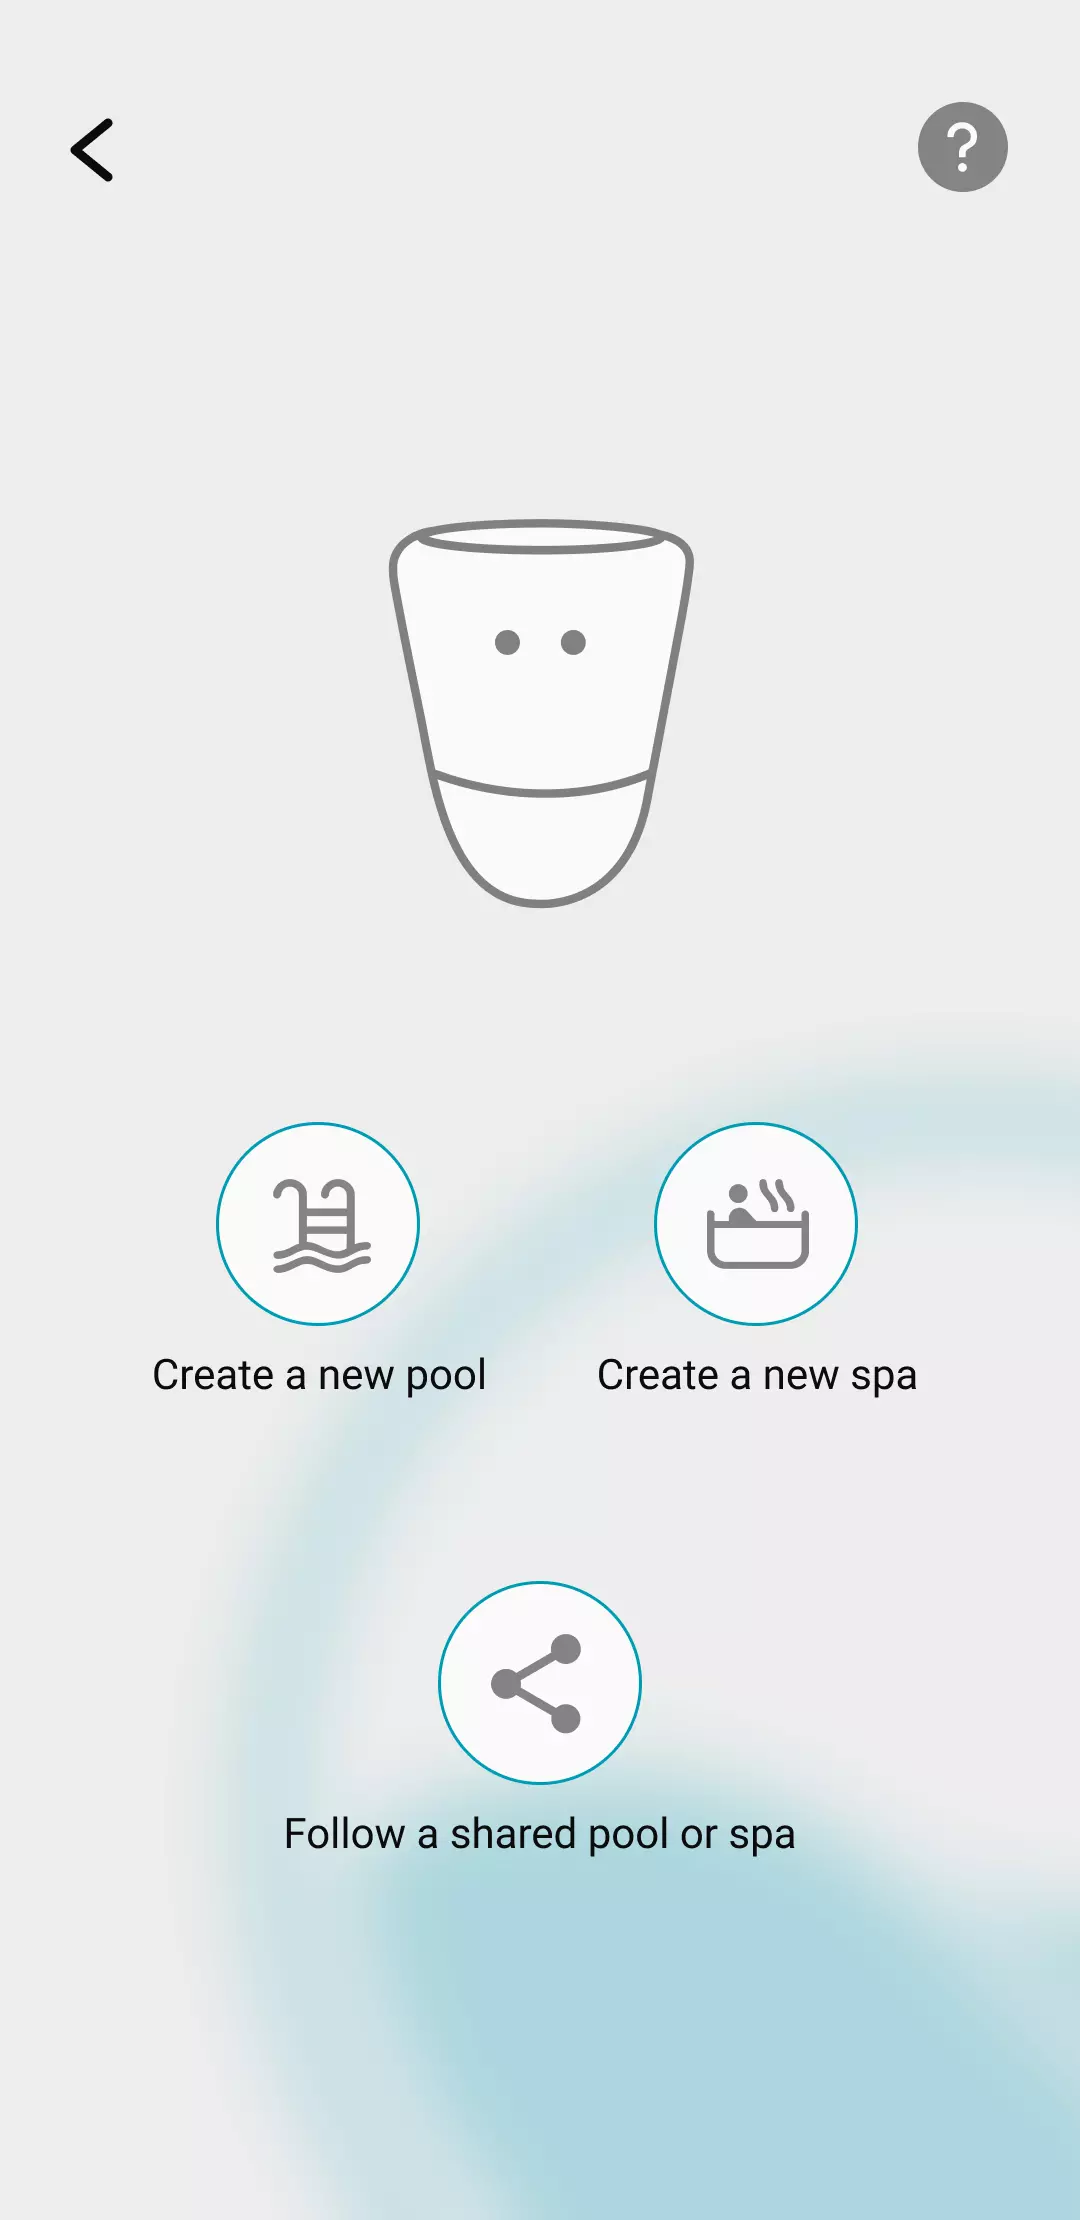
This profile will be automatically associated with the user account.
Enter the name of the pool, its location, its characteristics: volume, type of pool and type of disinfection
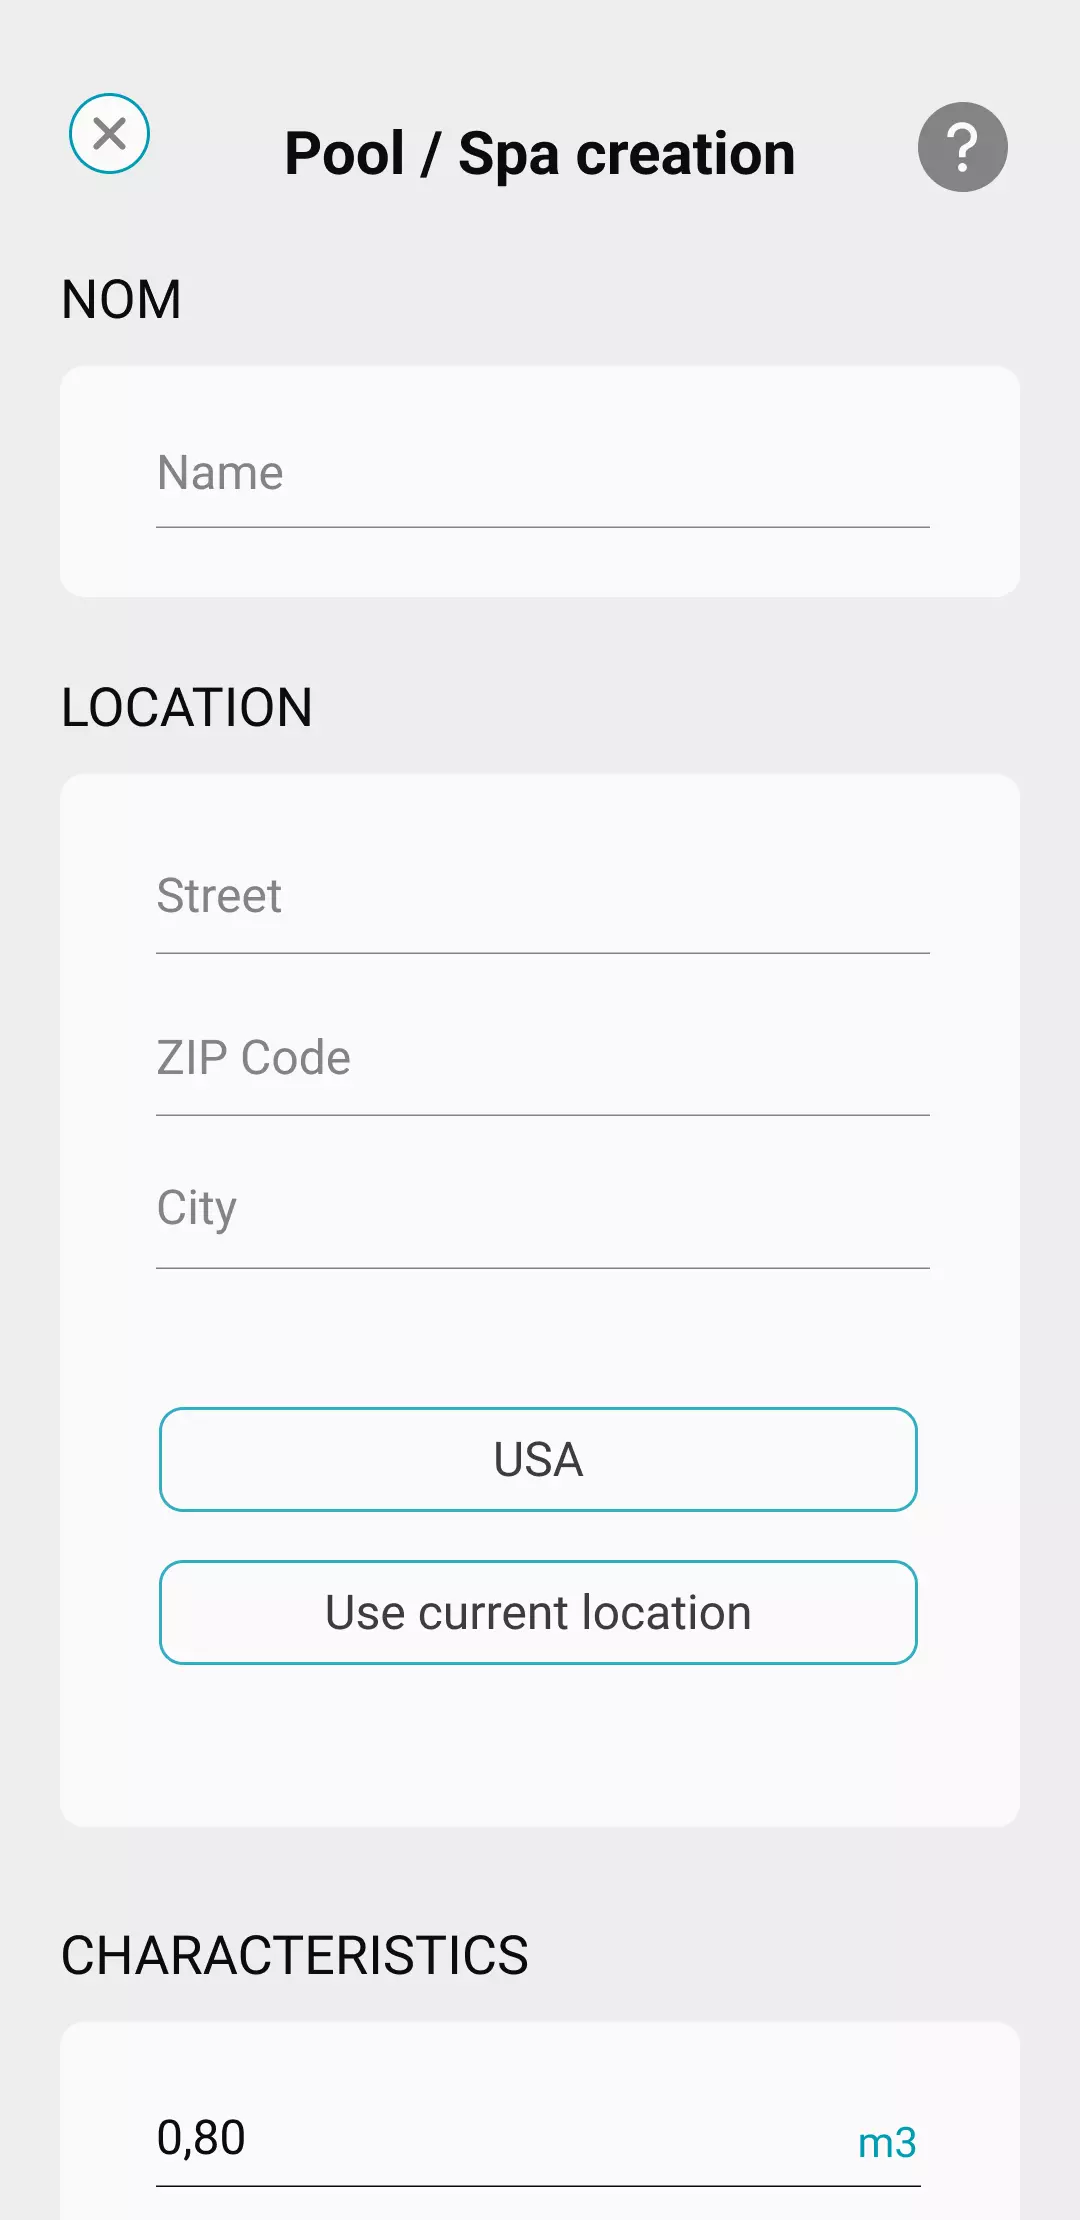
Then click on "Save"
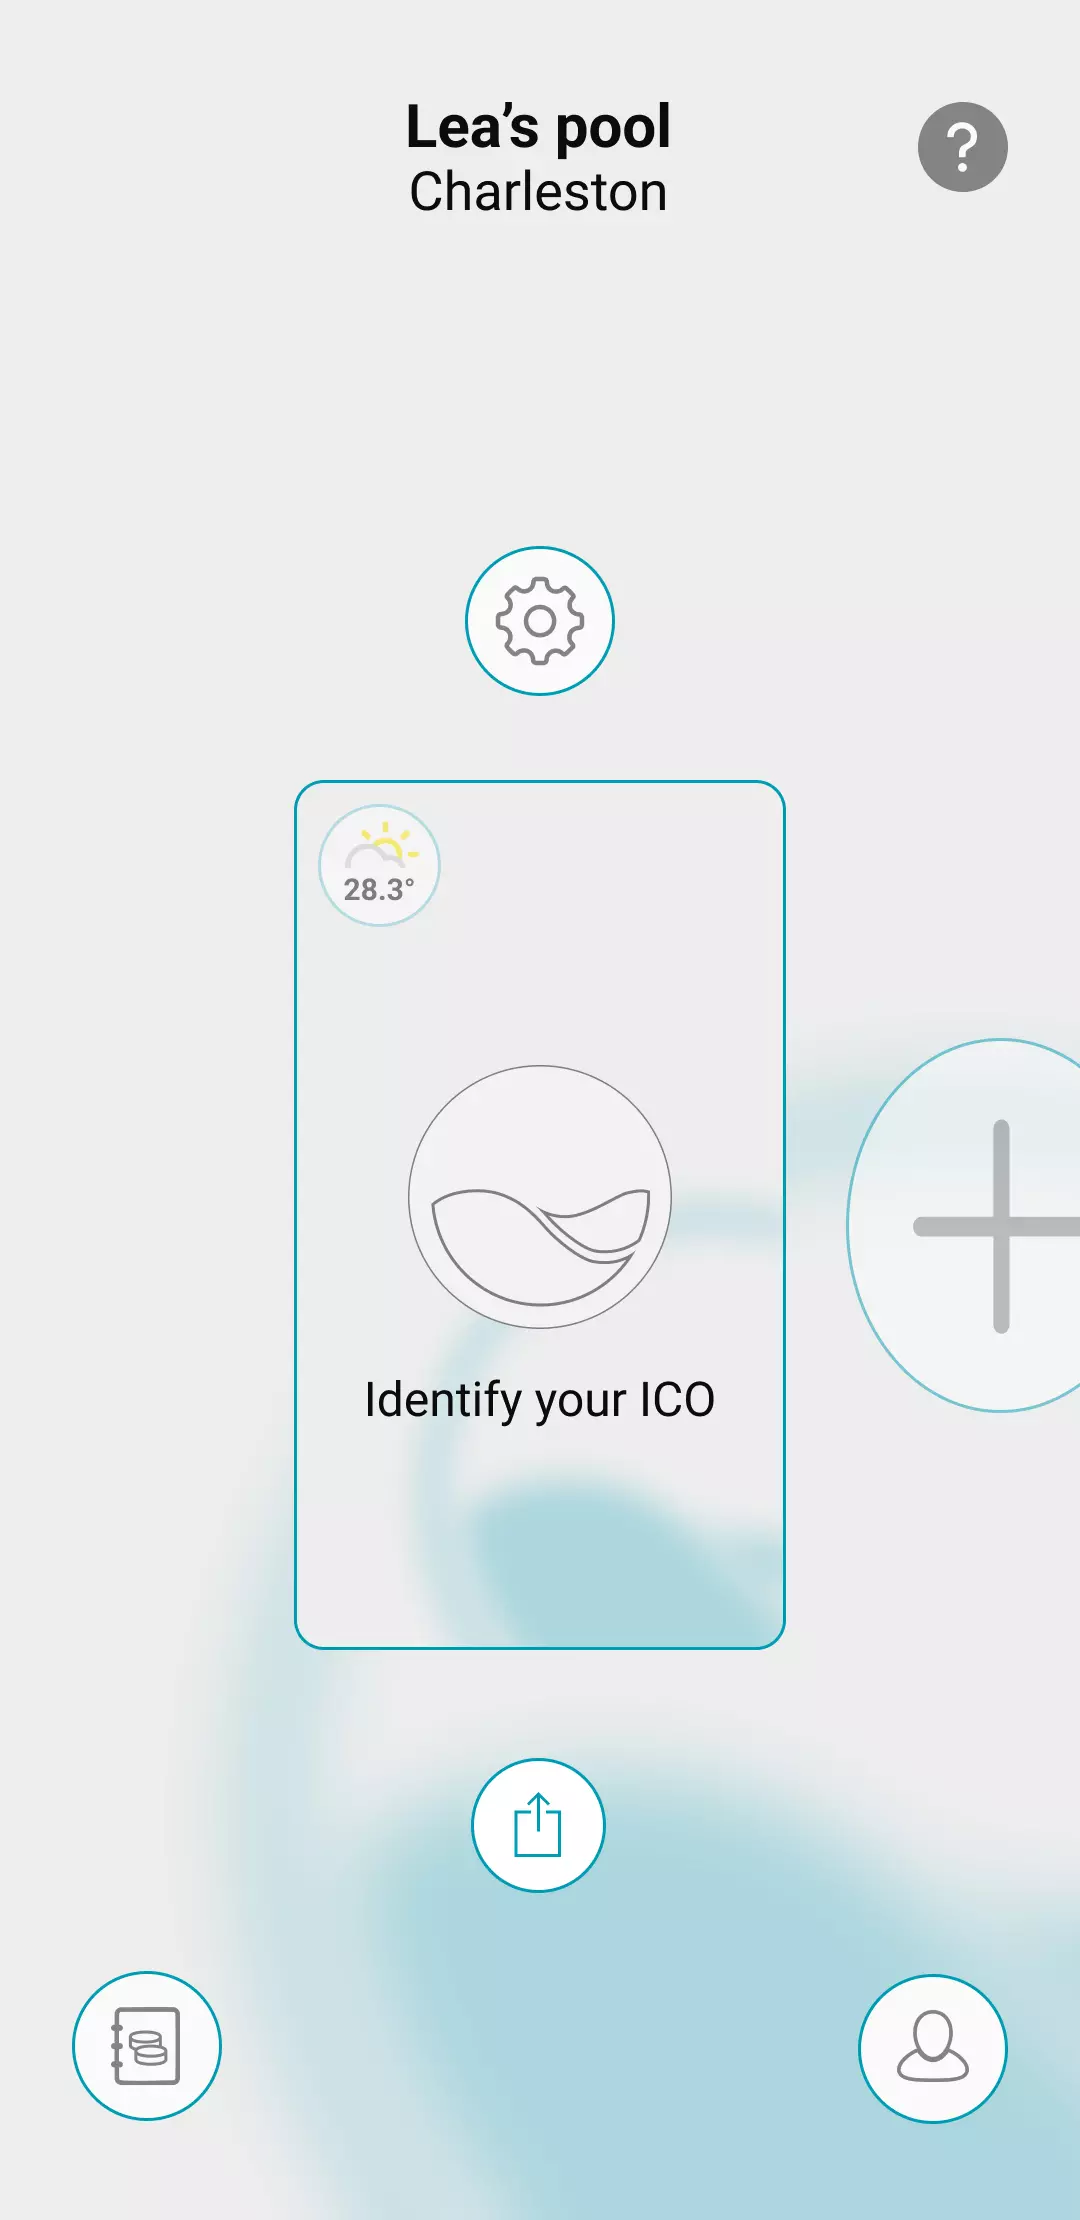
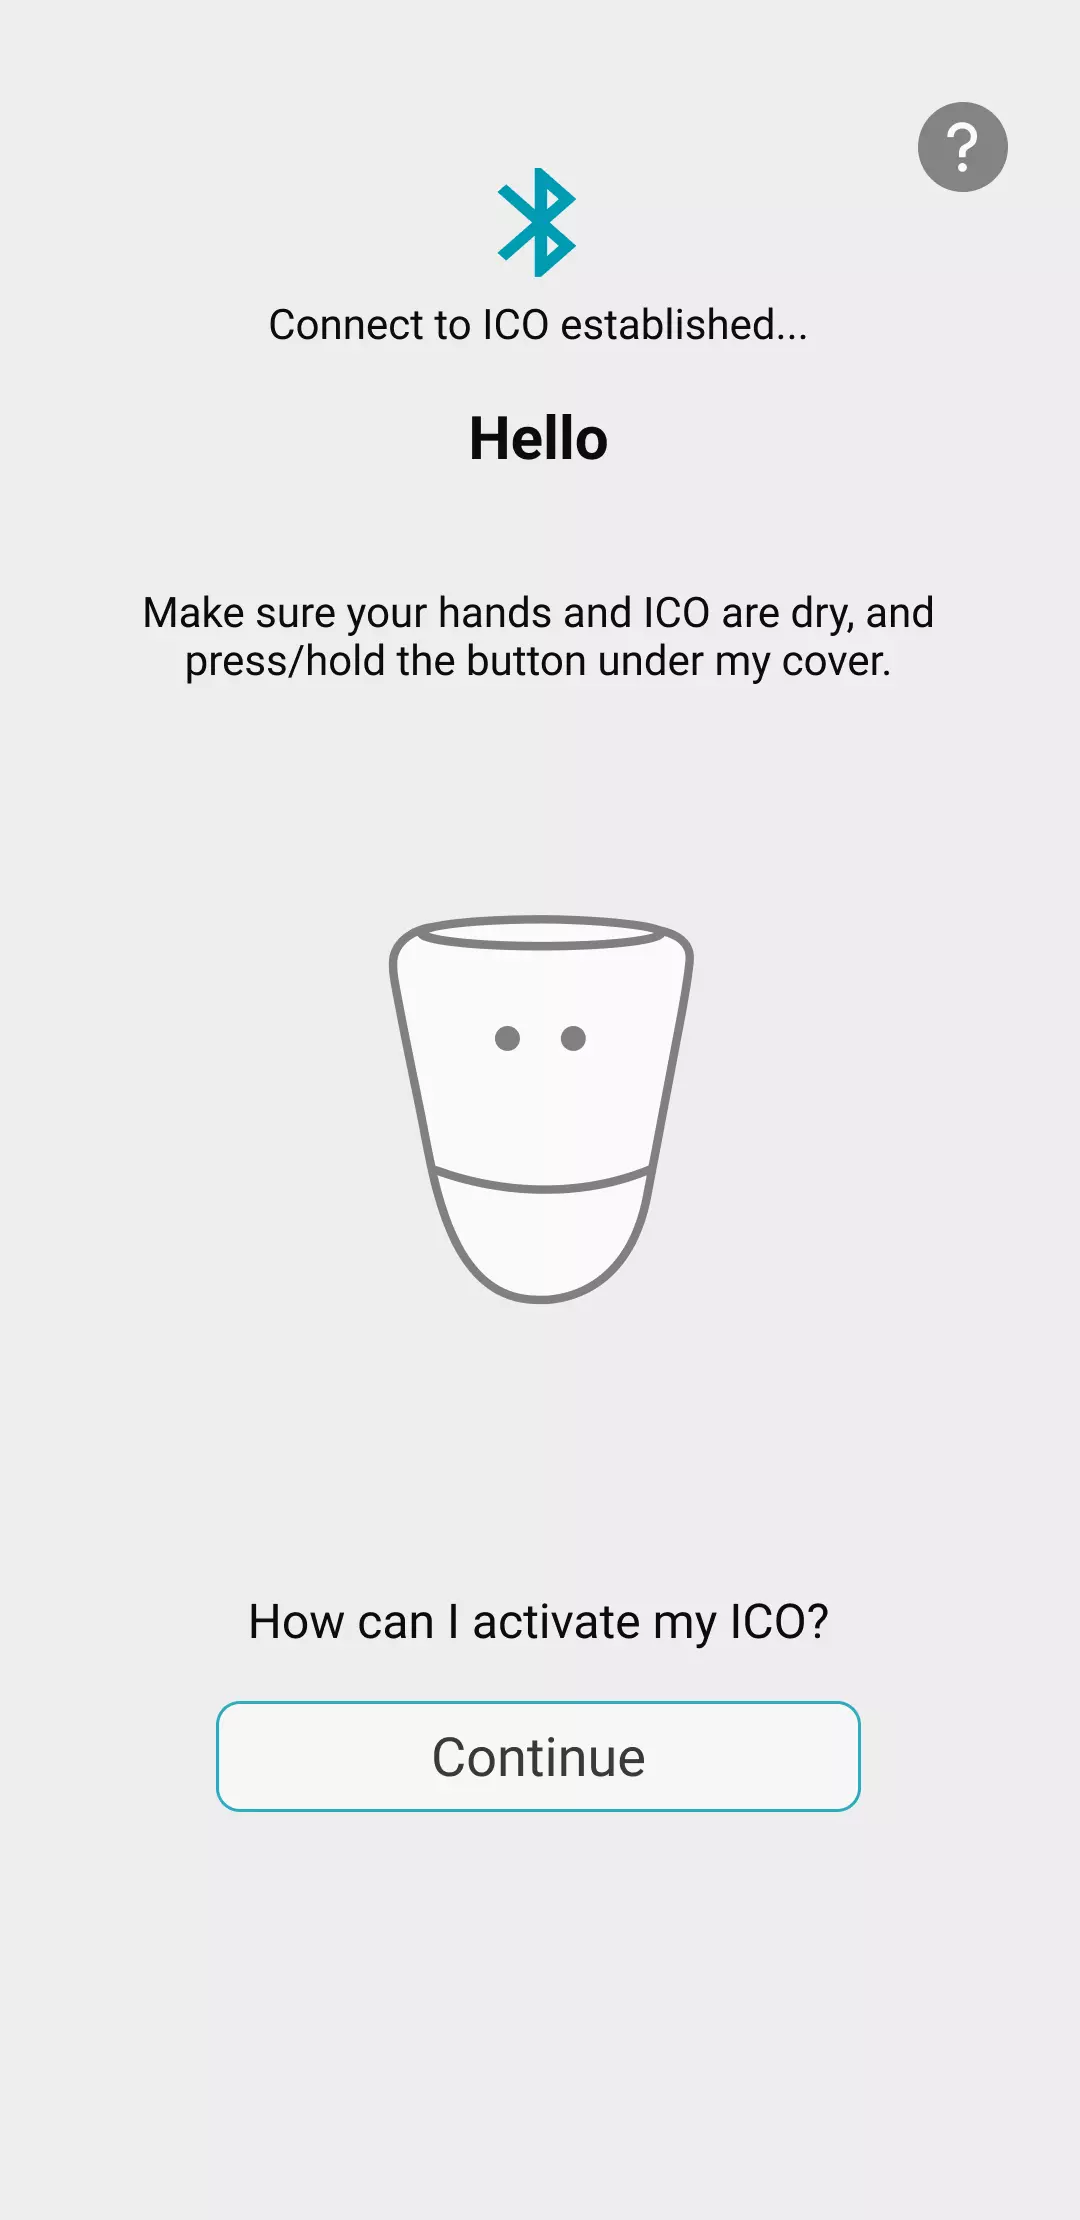
To associate your ICO with your user account , click Identify your ICO.
You can click on Scan my QR code or enter the UUID, both of which you will find inside the ICO box.
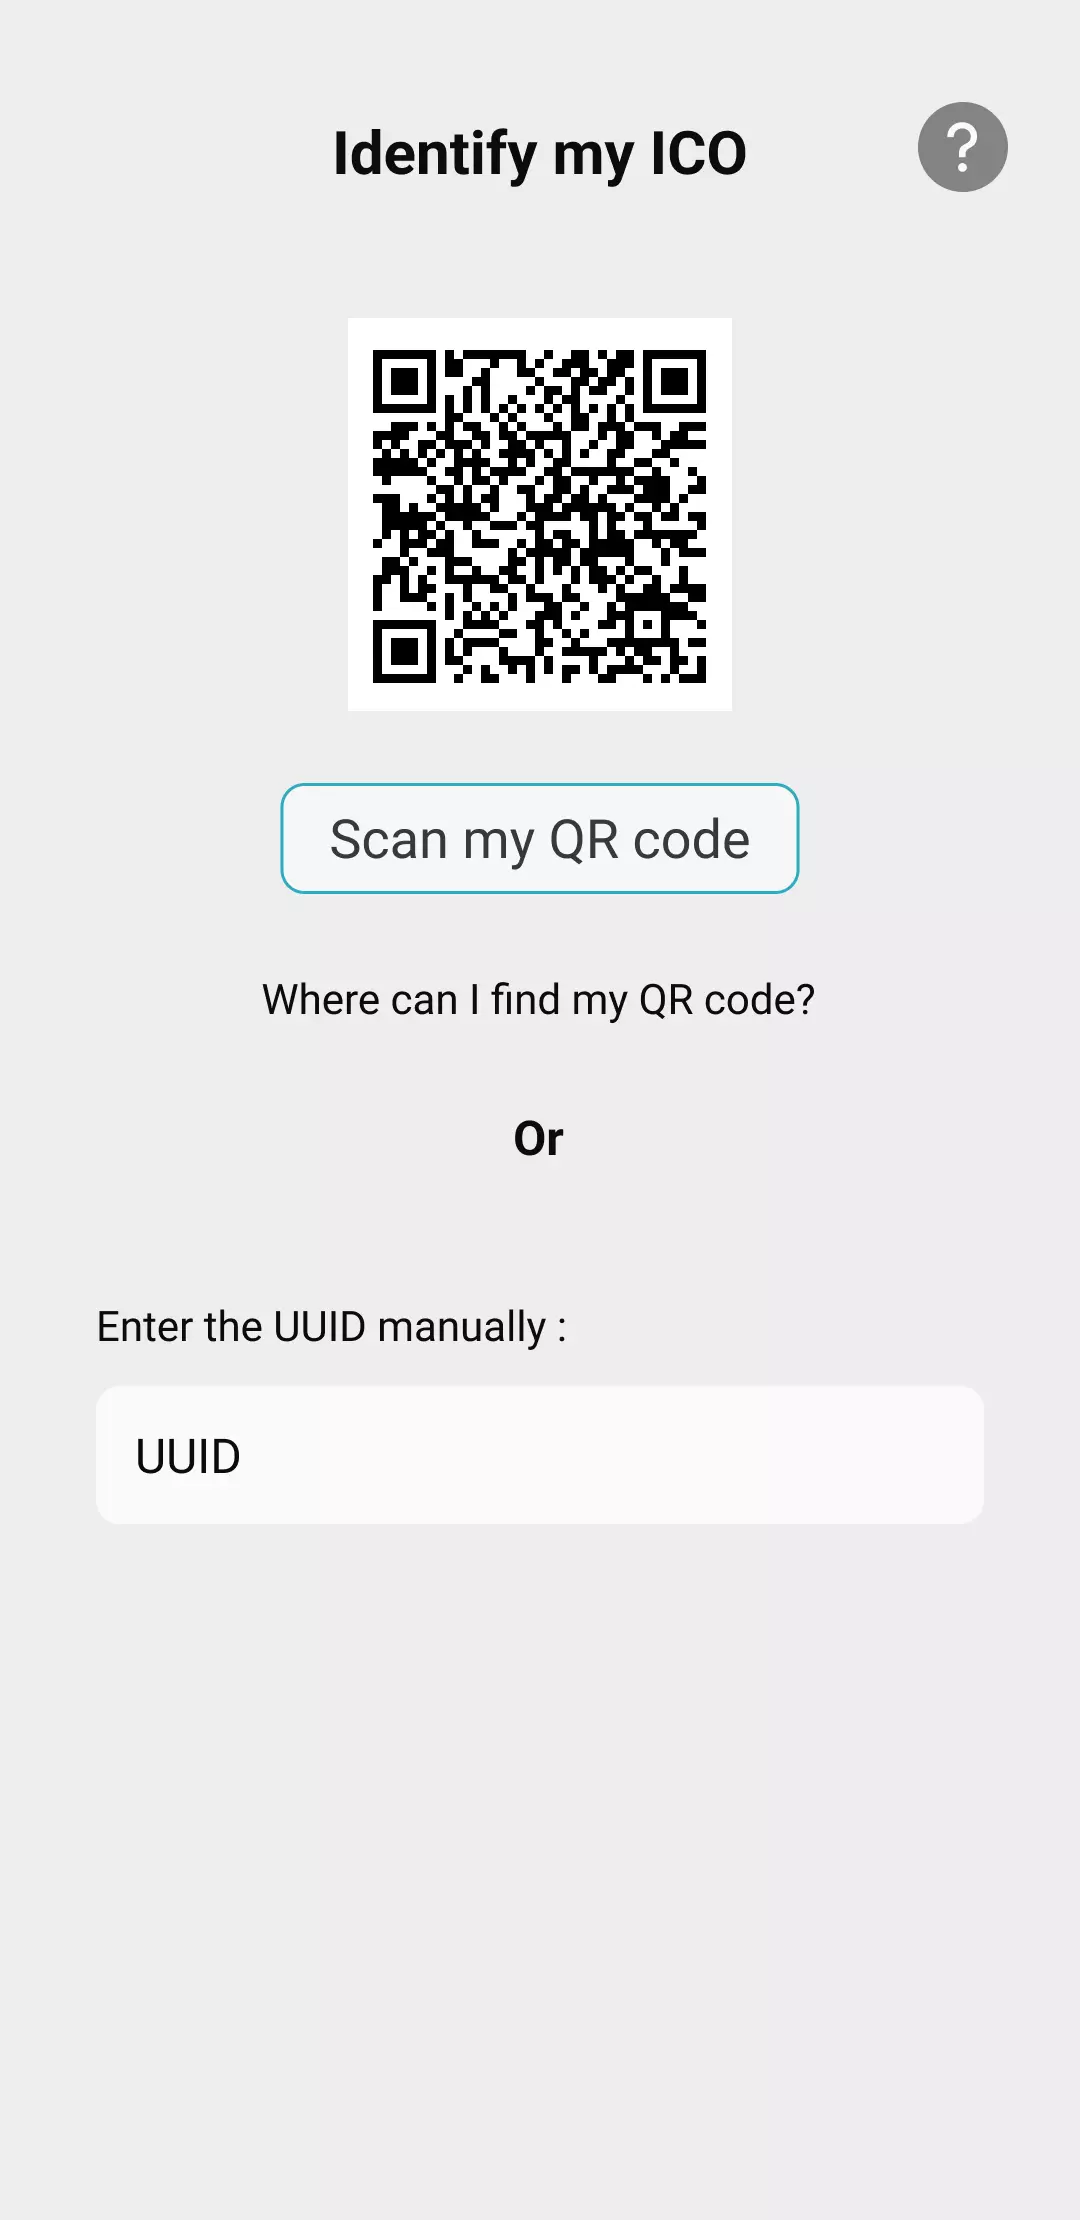
If you can't scan the QR code, go to this page.
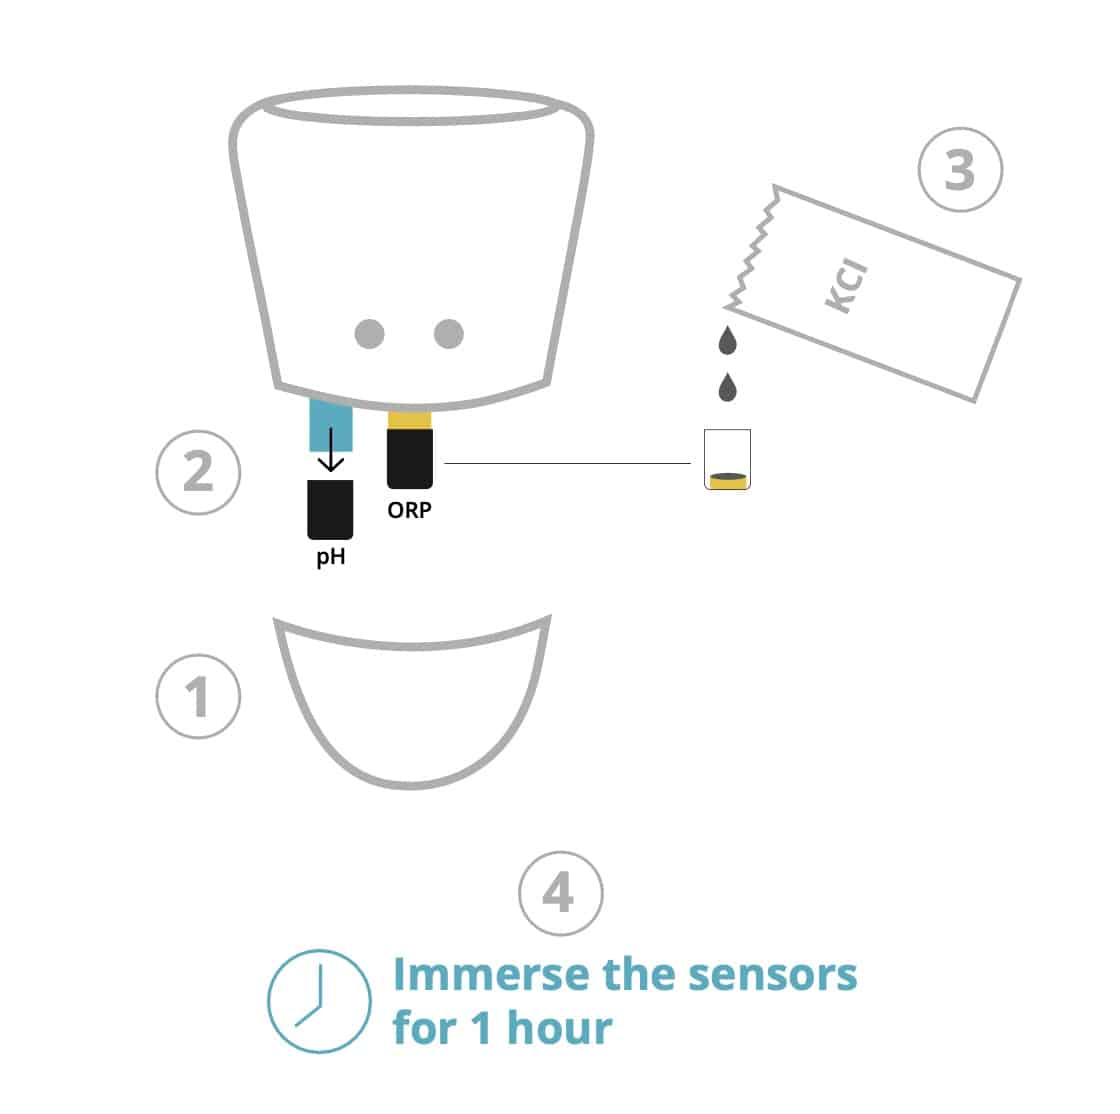
Open the top cover of your ICO using the small screwdriver provided in the Ondilo box. Remove the intermediate cover.

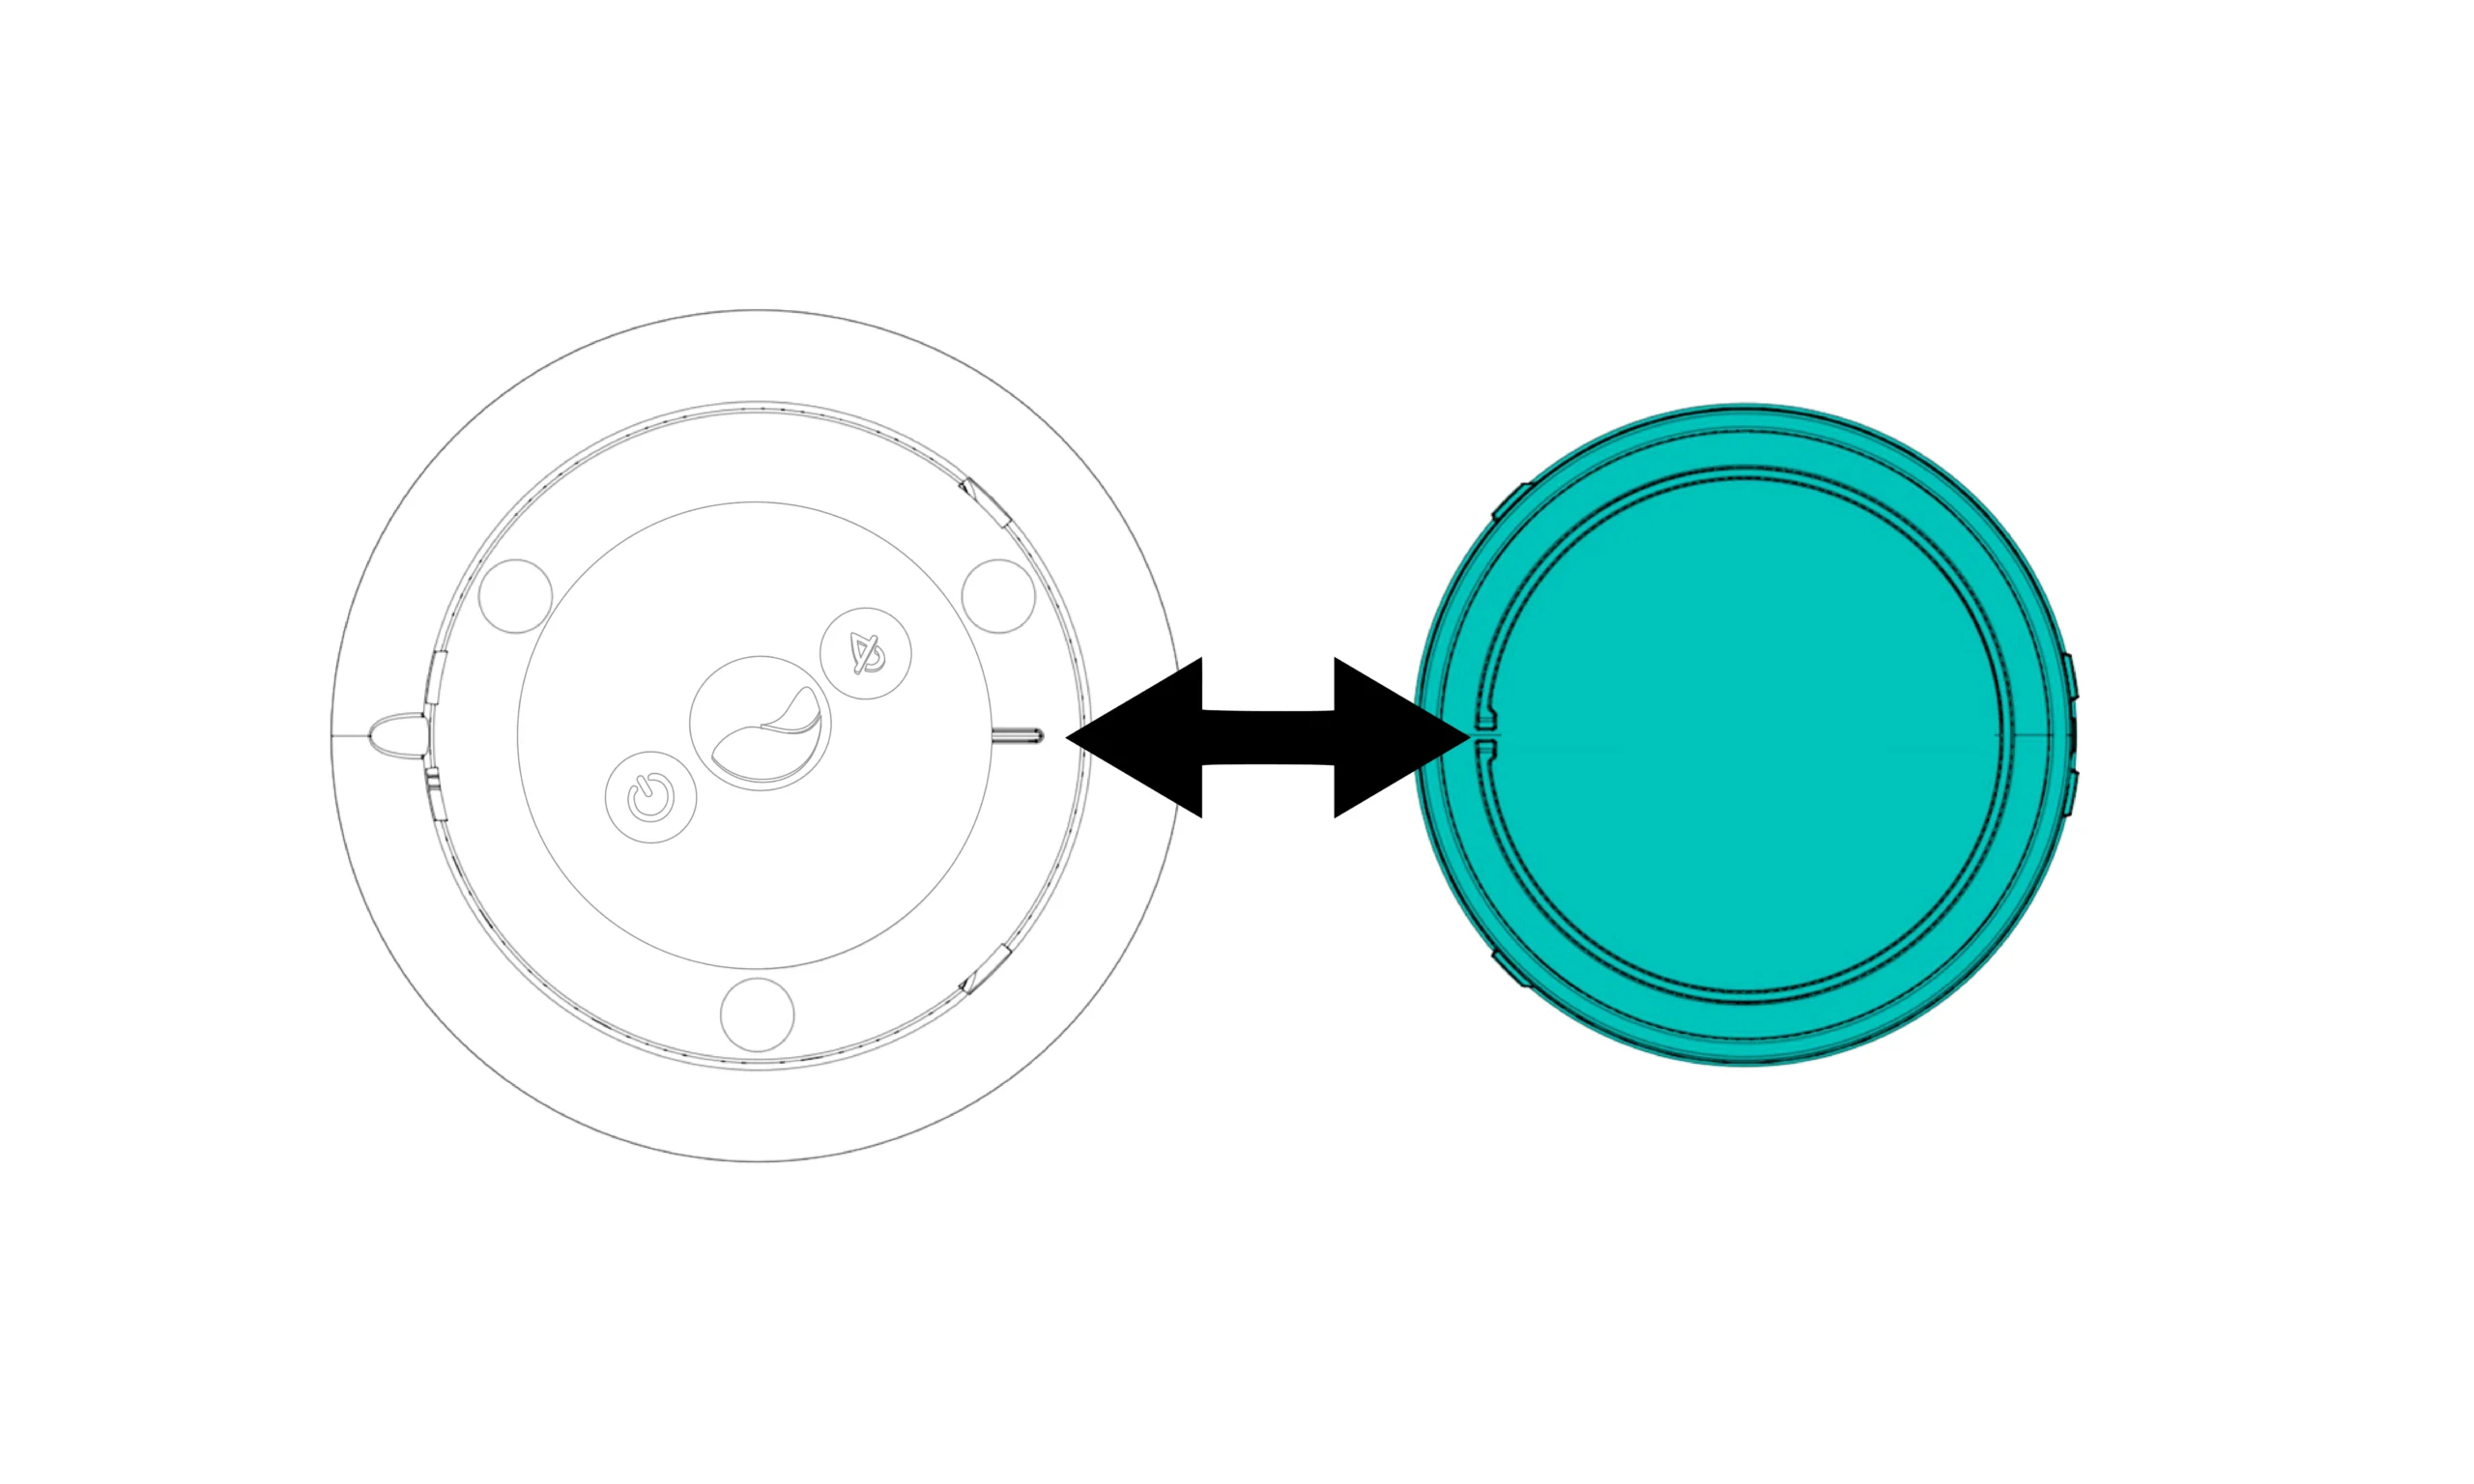
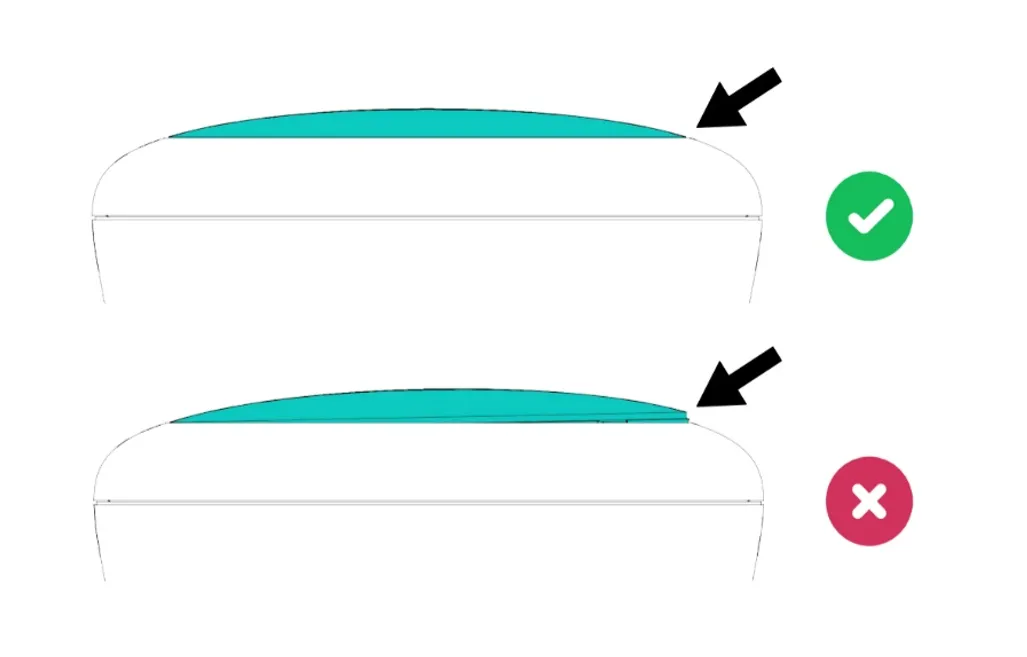
Then close ICO. When reassembling, align the notch in the cover with the keying pin on ICO to ensure a watertight seal.
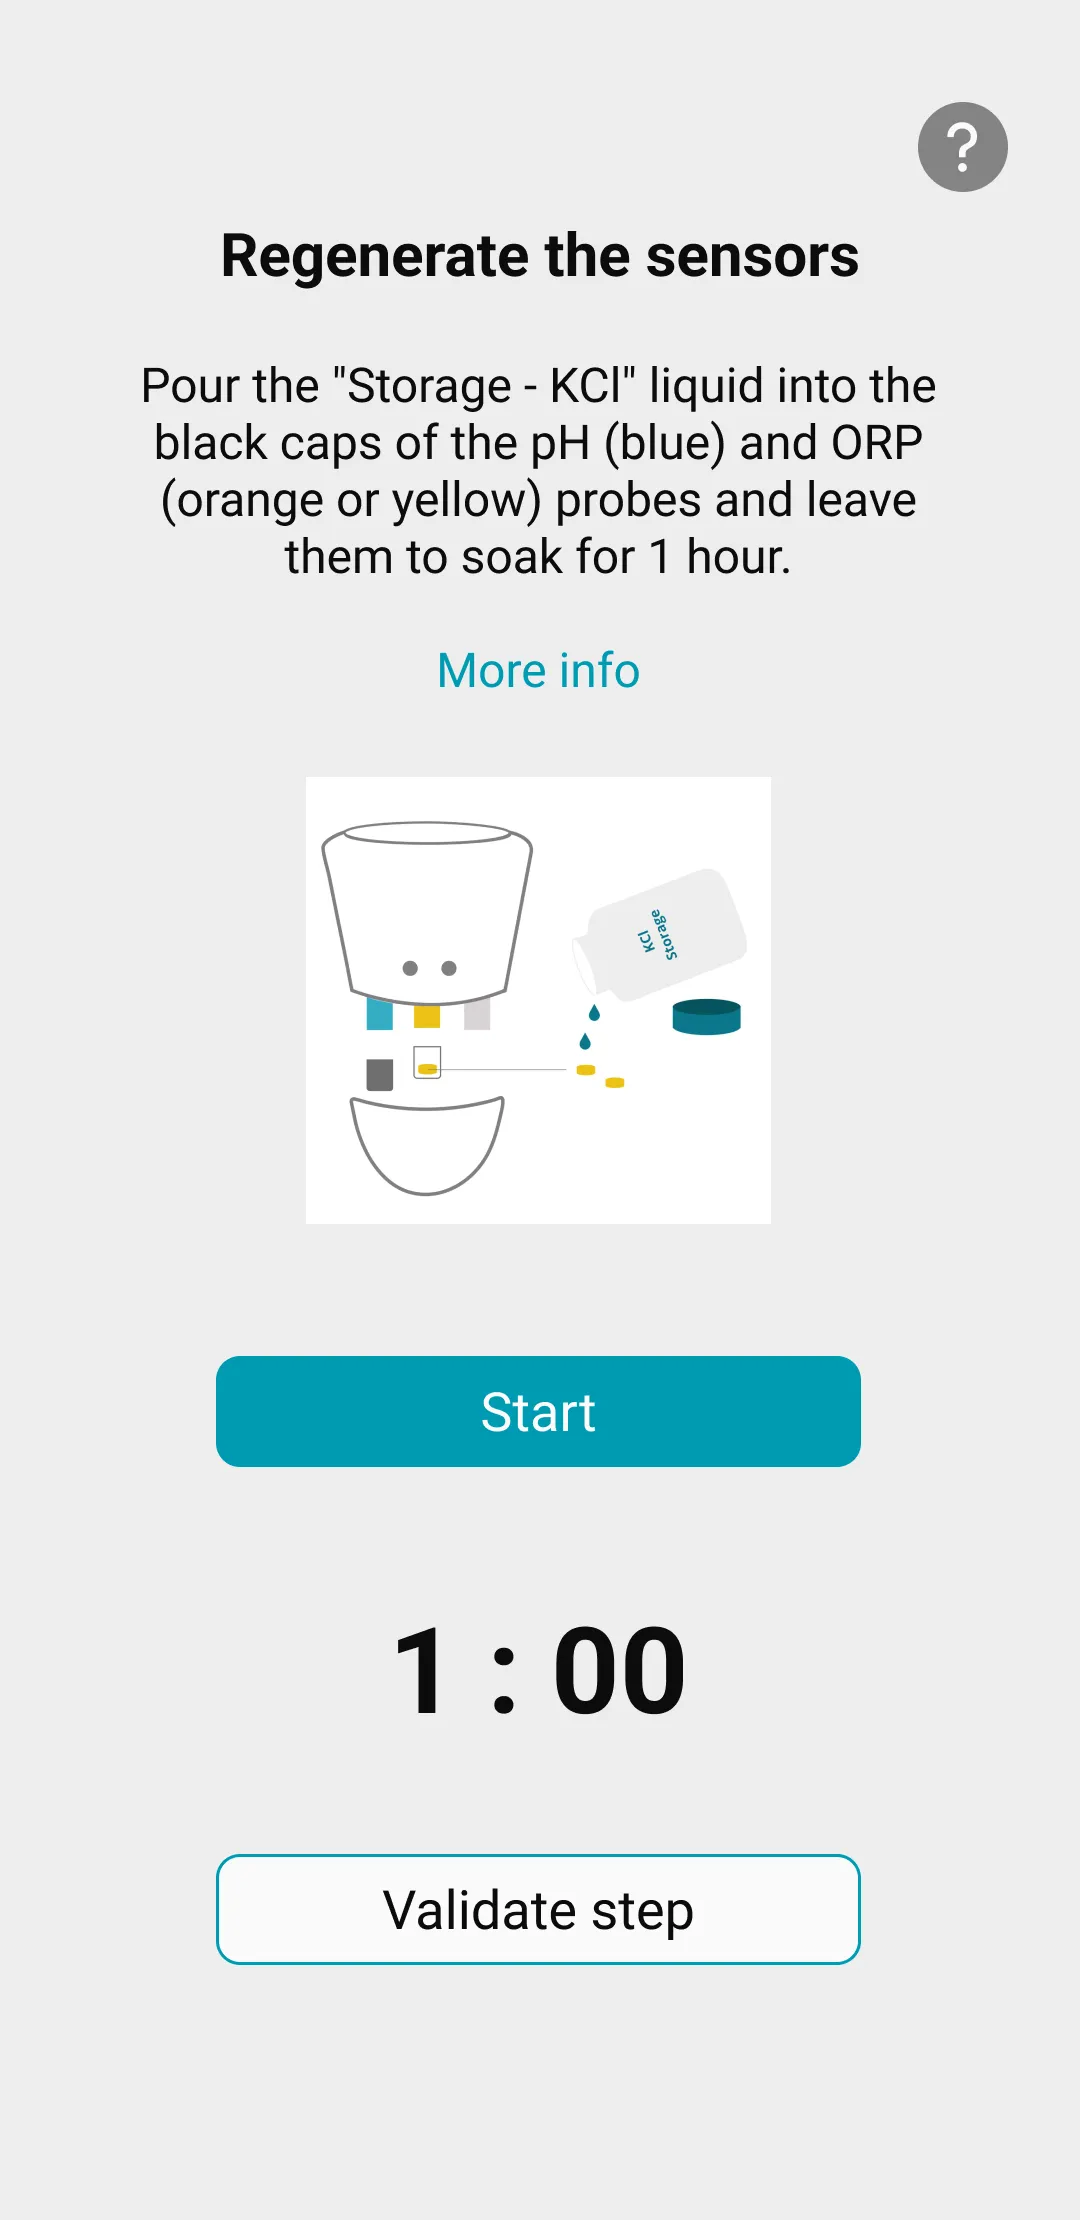
Follow the steps suggested in your application to regenerate your pH (blue sensor) and ORP (yellow / orange) sensors. The TDS sensor (gray) is not affected by this step.
Continue with the rest of the installation by following the instructions in the ICO application.
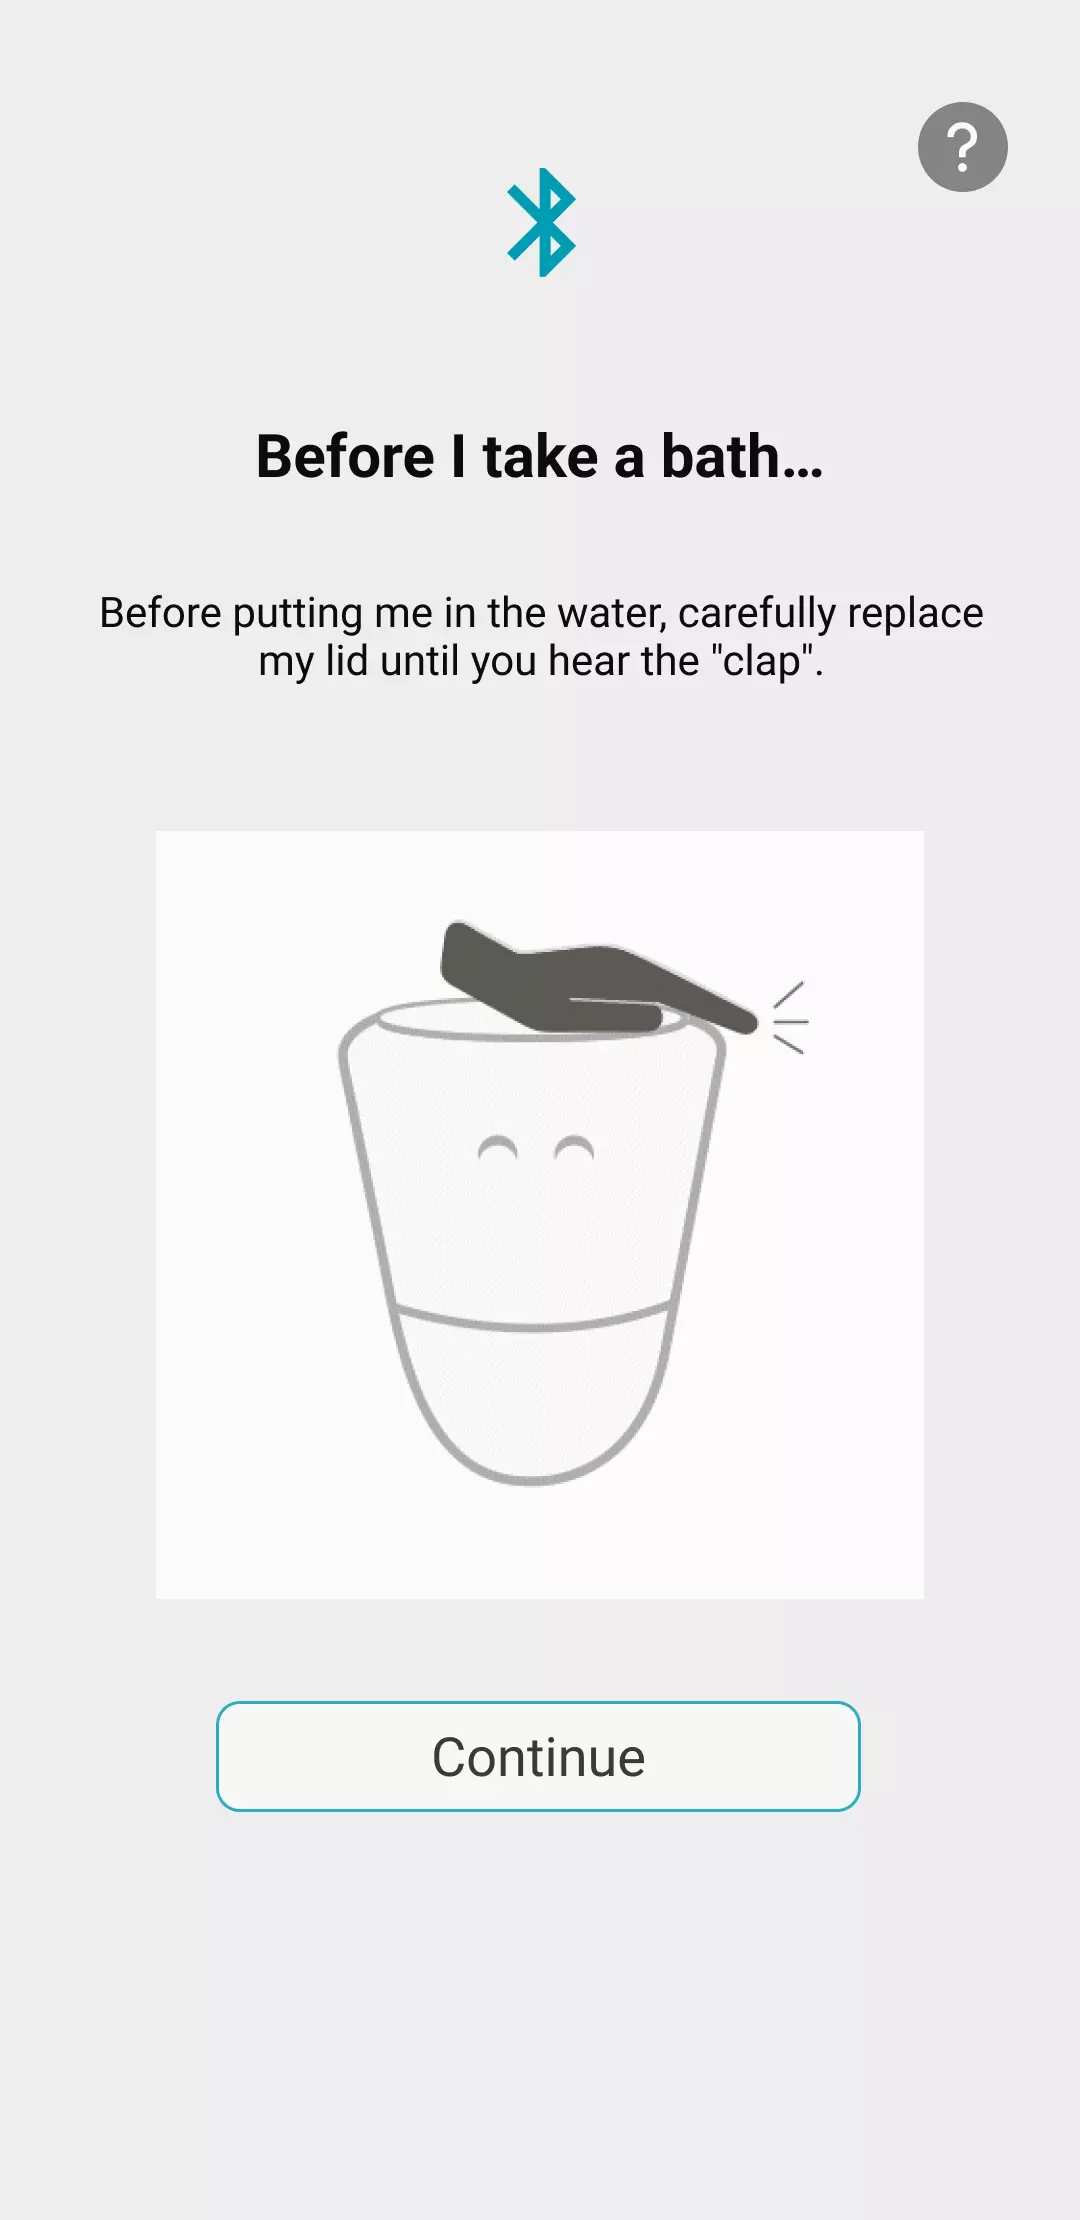
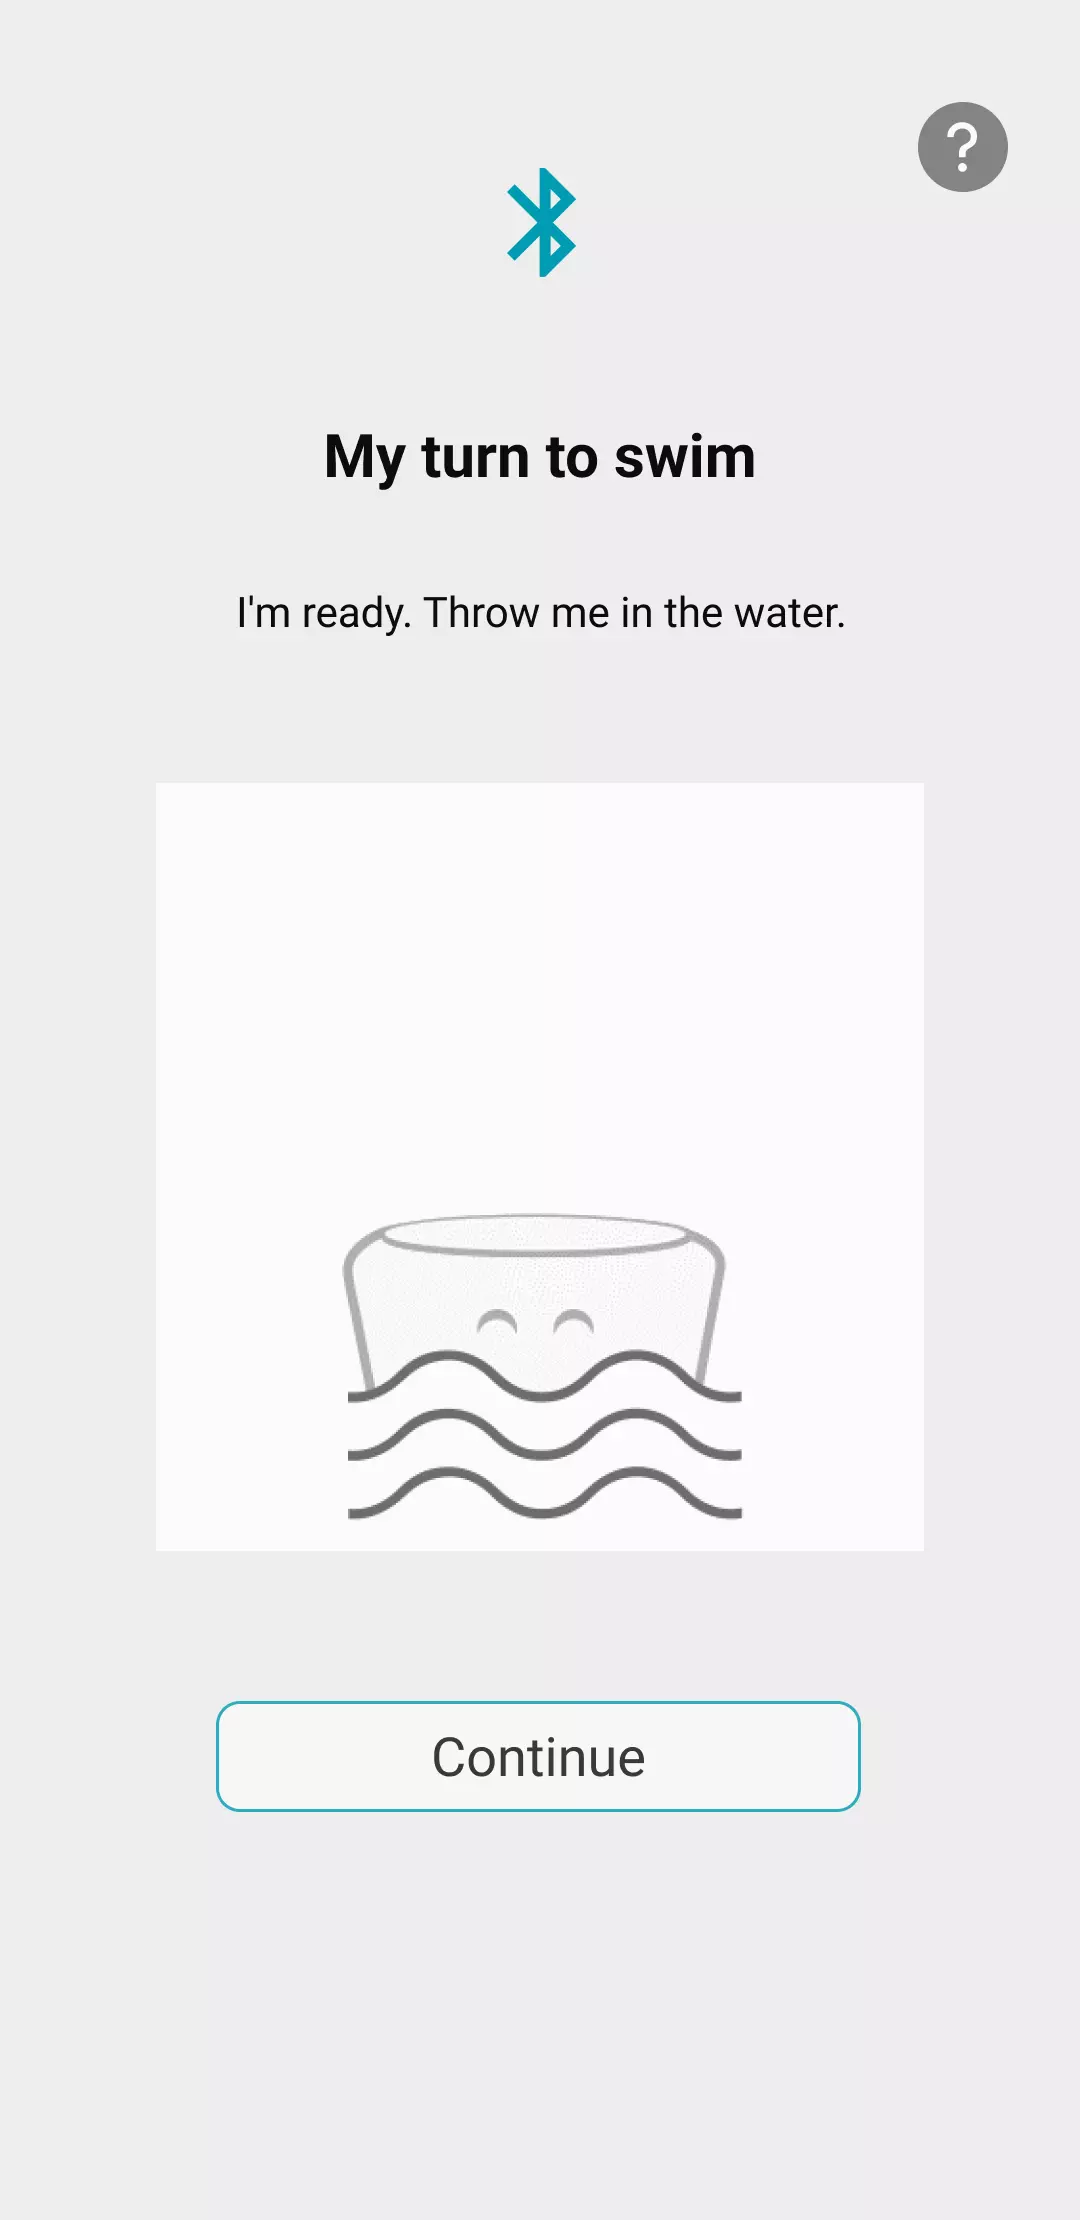
You can now immerse ICO in water.
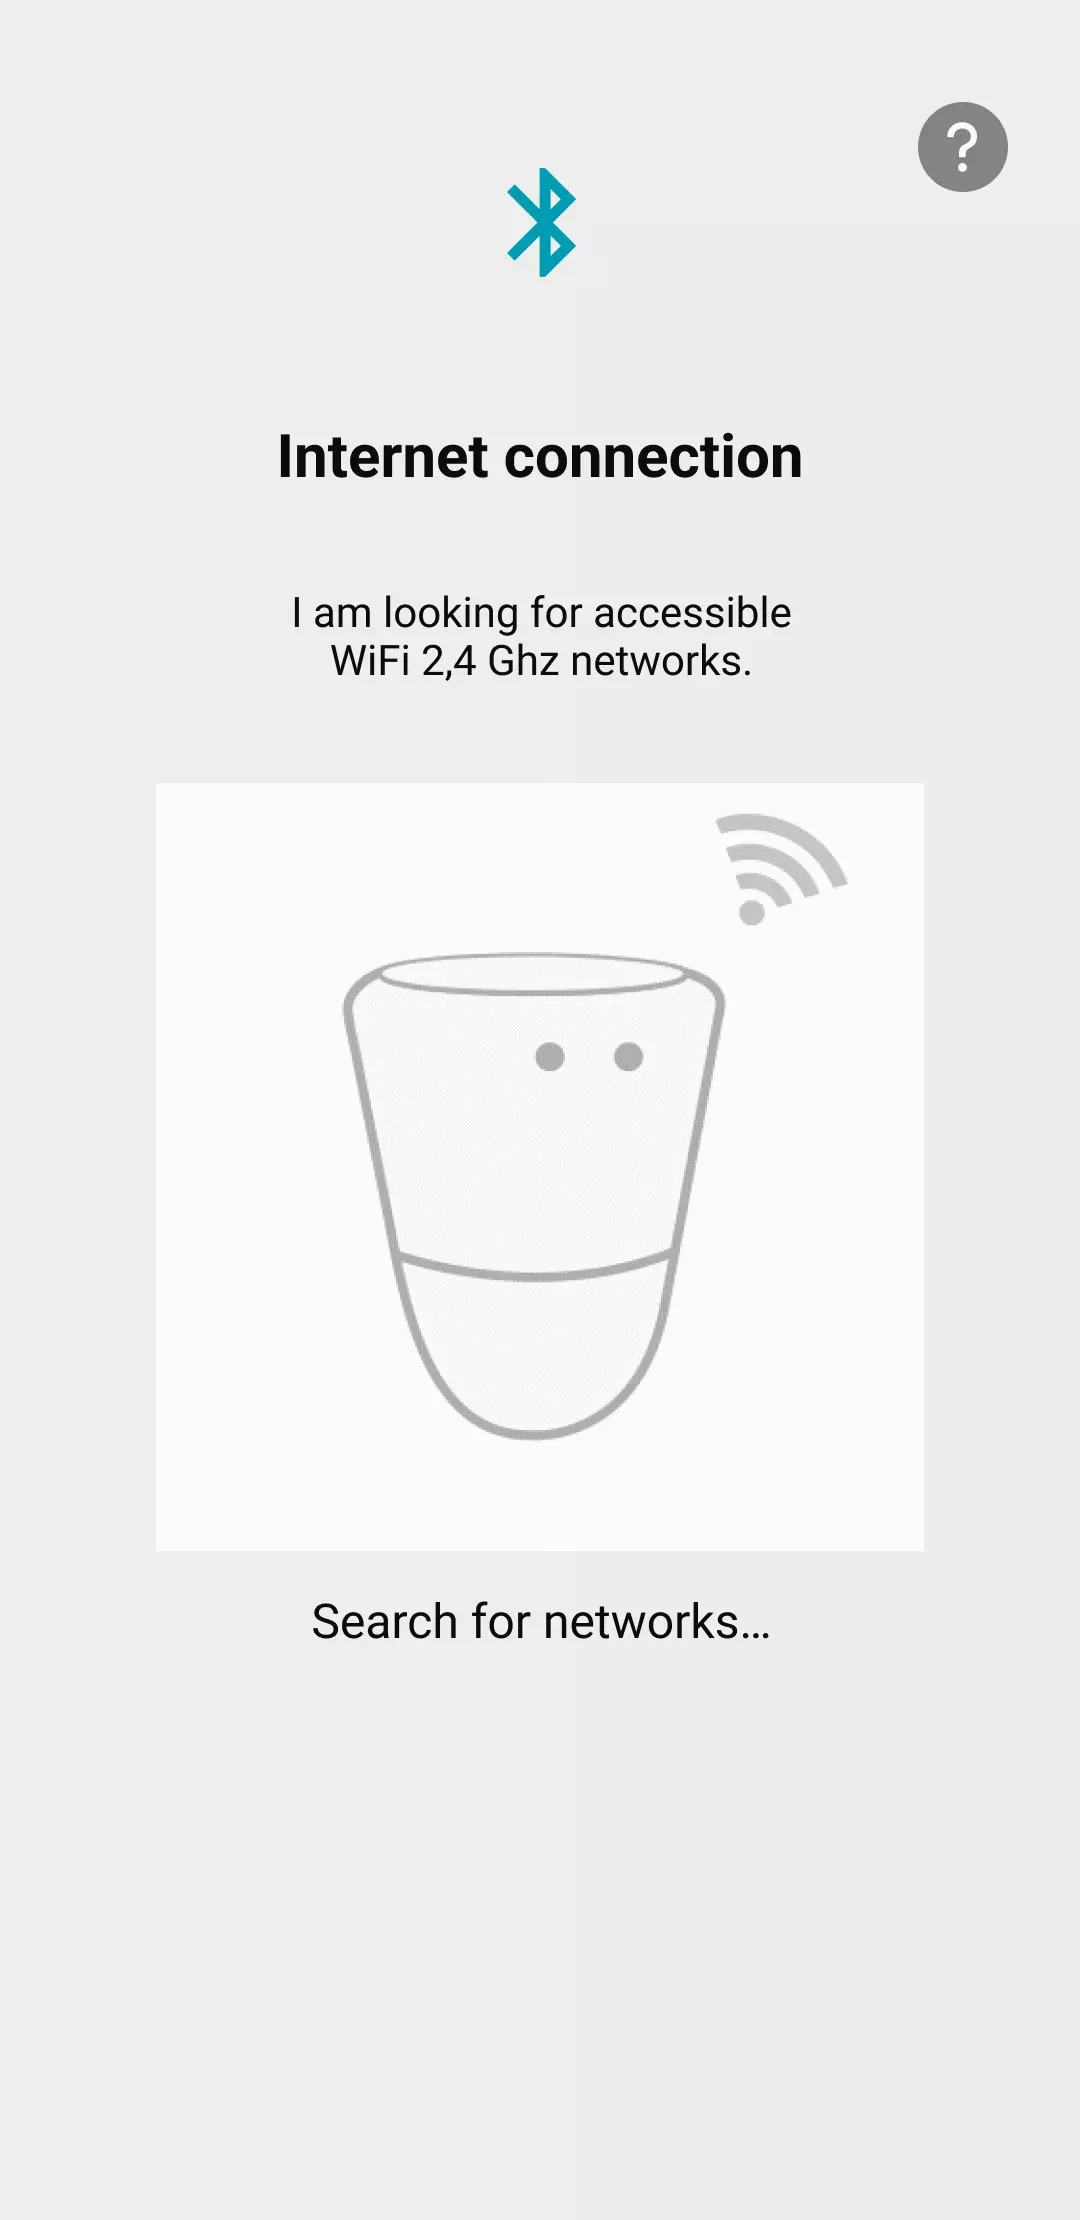
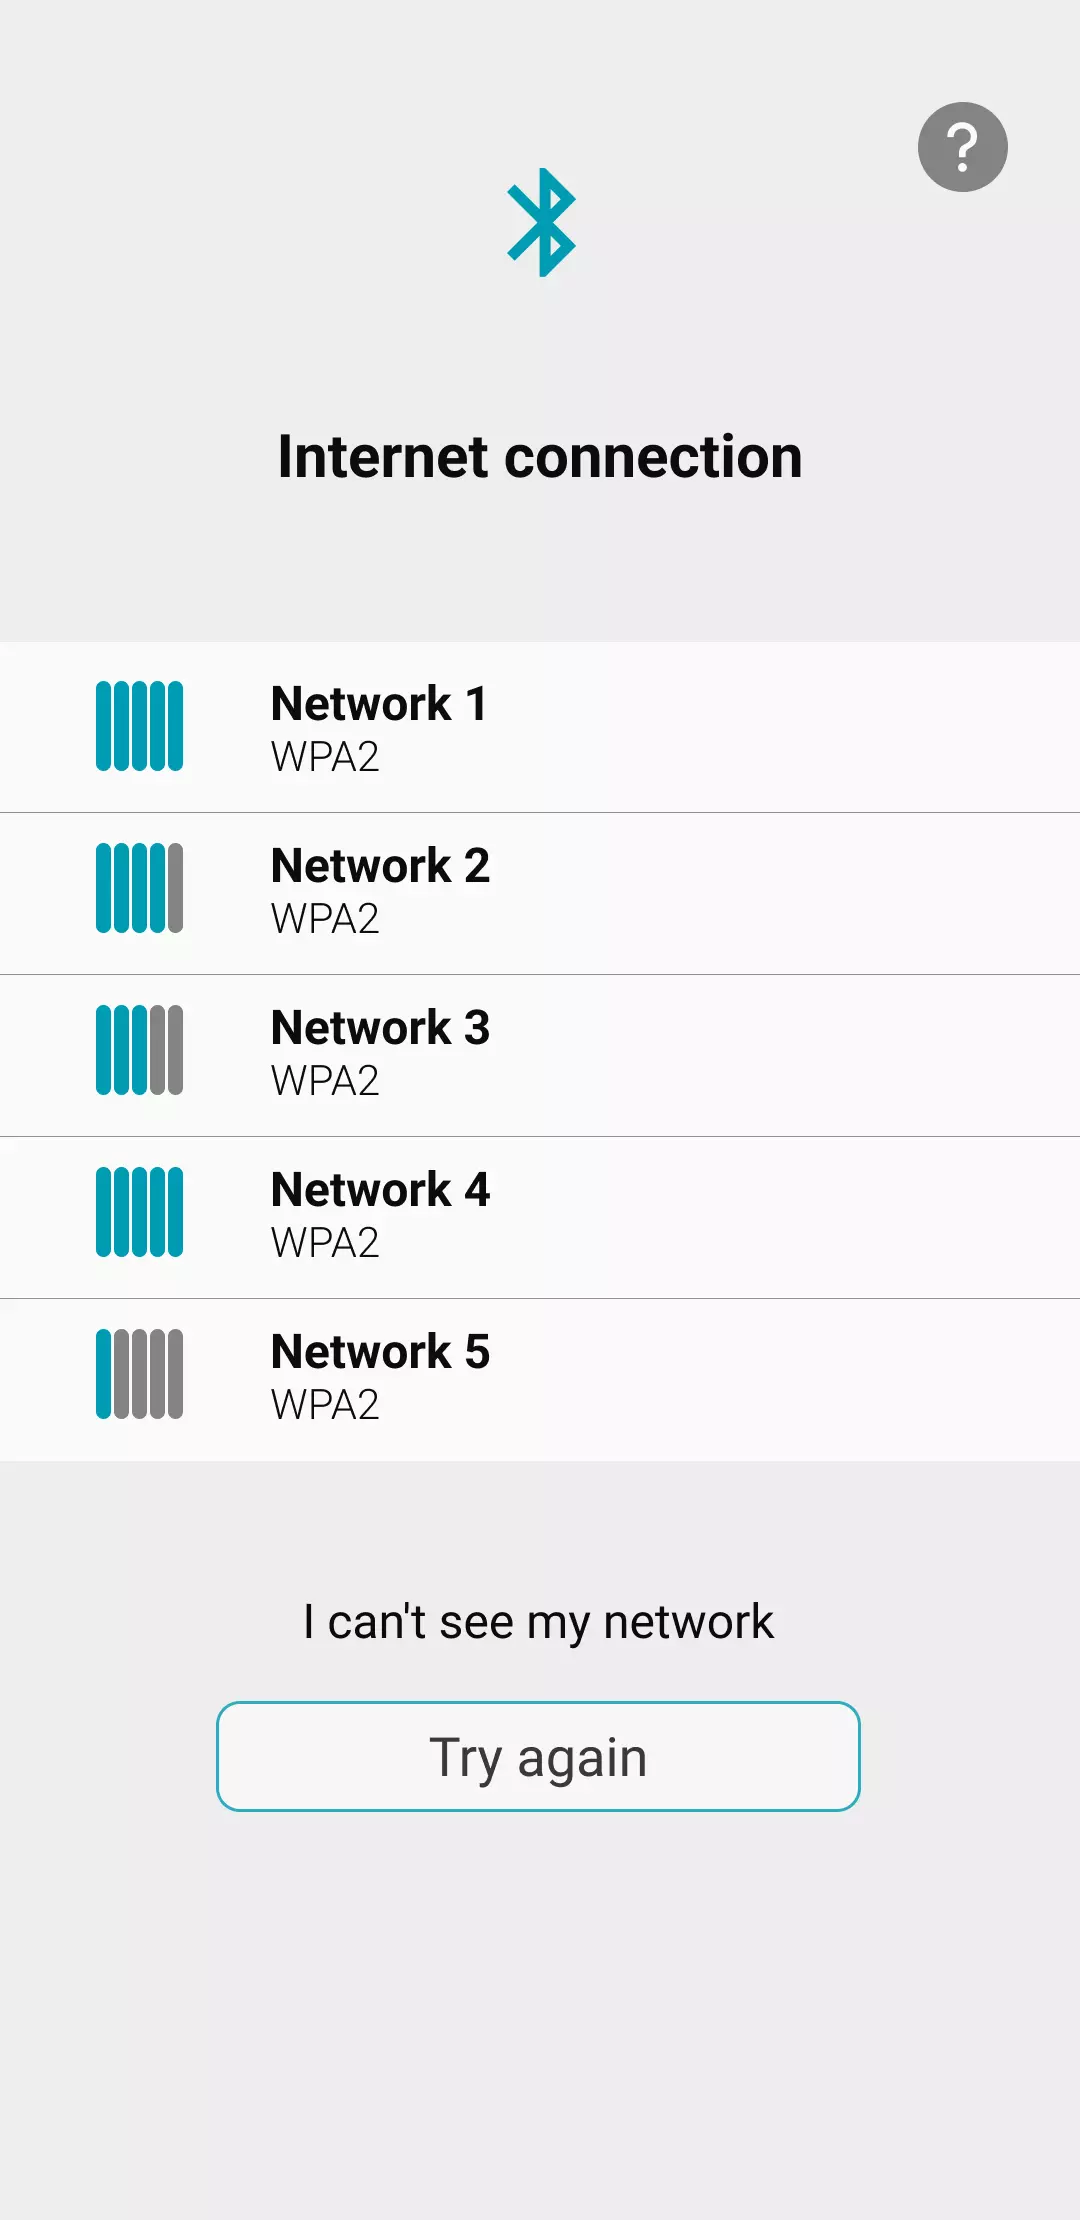
Click on Continue to connect your ICO to the wifi.
ICO will automatically search for networks around it
It will then suggest a list of networks. If your network does not appear in the list, click on Other network and enter your network name and security key manually.
Once a network has been selected and the wifi key entered, ICO will attempt to access the internet.
A countdown shows the possible duration of this step.

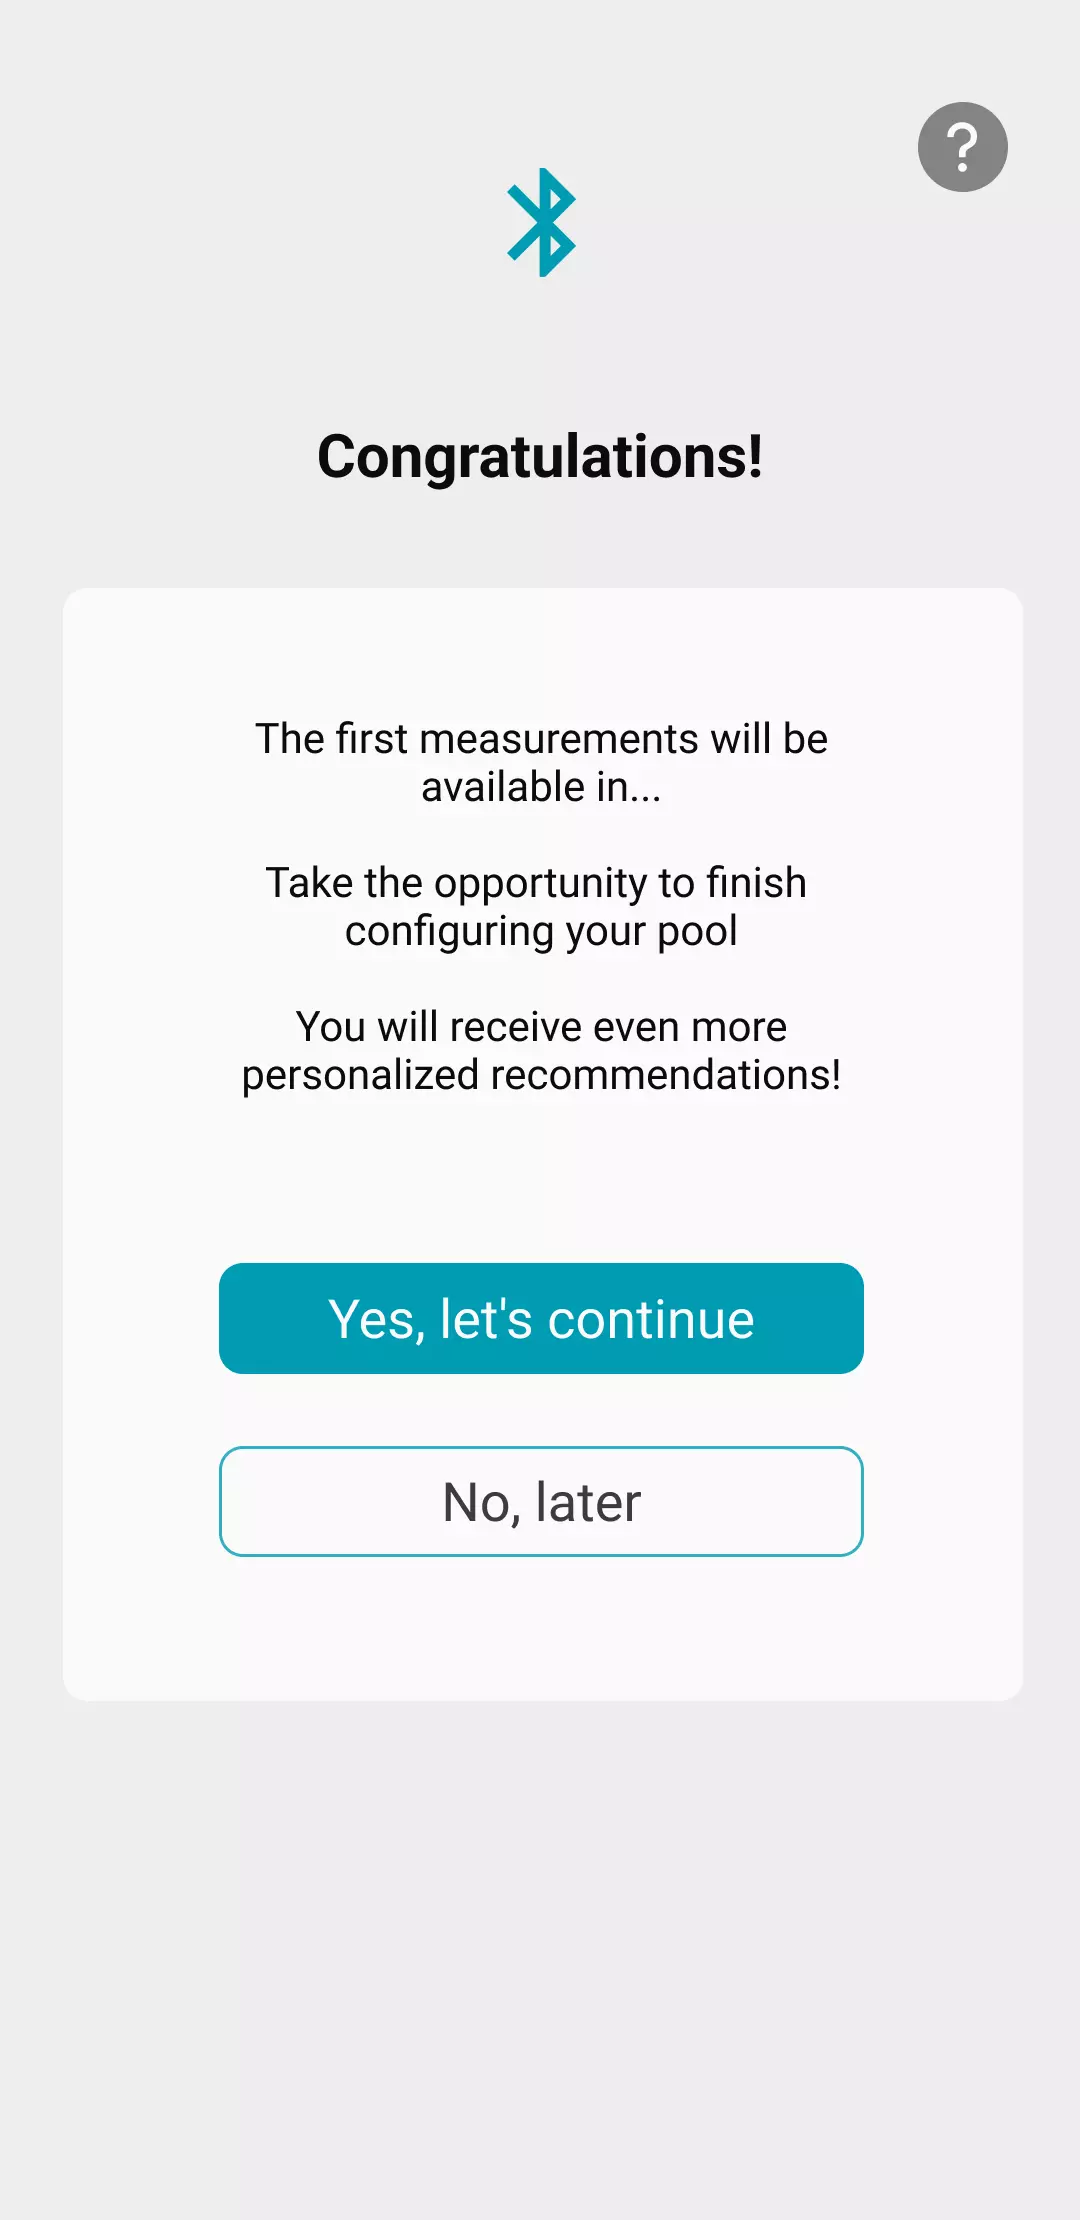
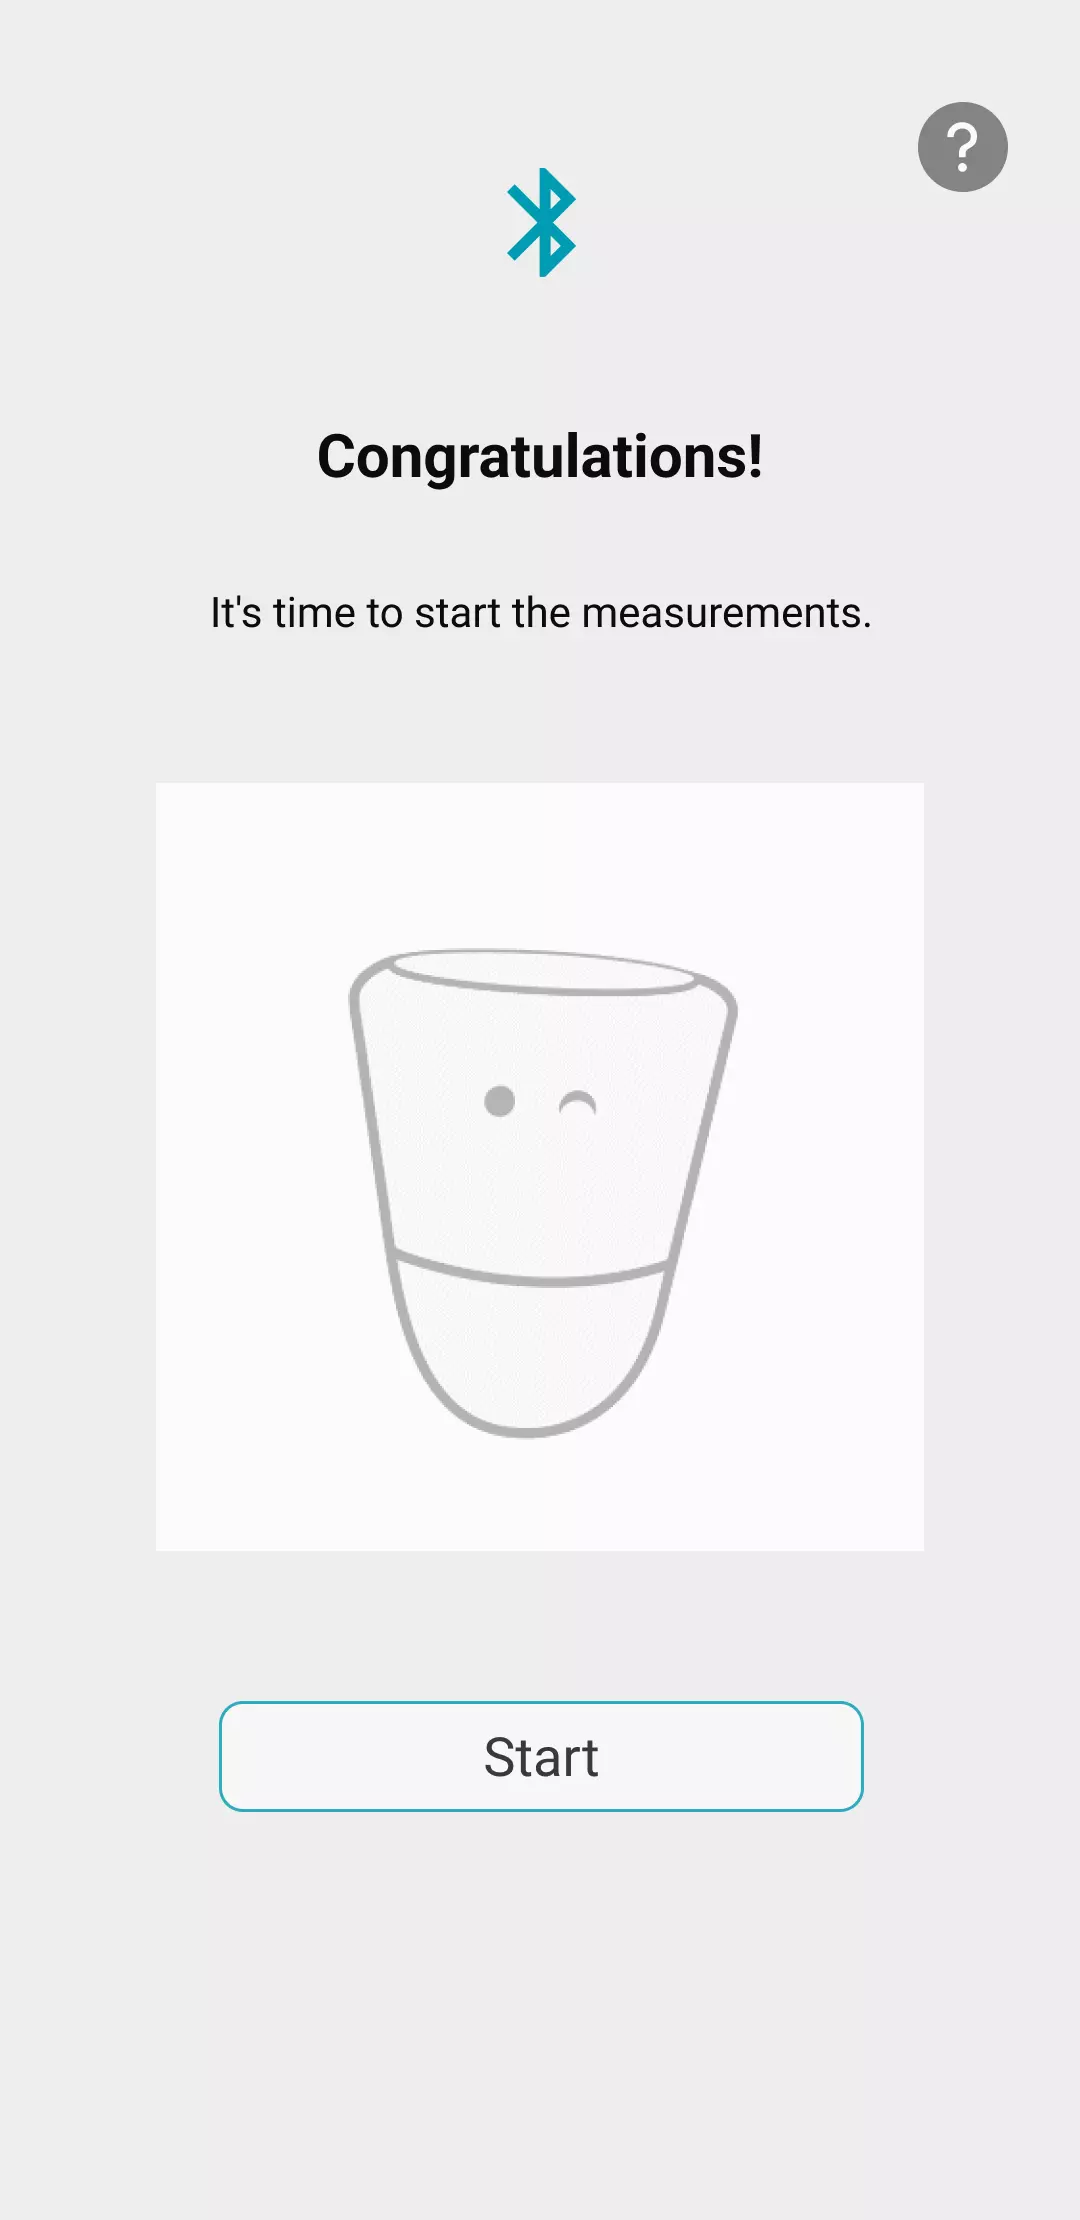
Installation is now complete, and ICO will send you its first measurements in a few minutes.
For even more personalised recommendations, click on Yes, I continue to complete the configuration of your pool / spa