Setup ICO Smart Core
You have received or will soon receive an ICO Smart Core. Here is how to install it very simply by following the steps.
Follow the process from a video
Clic on the image below to launch a step by step video
In the ICO Smart Core box
In your Smart Core box, you have :
- 1 ICO Smart Core
- 1 protective bag (keep it to winterize your ICO)
- 1 QR code with the UUID number of your ICO (in the box)
- 1 access card to this help page

3 Steps to get your new ICO up and running
To follow these steps, you will need your smartphone at hand. The ICO application must already be installed
Step 1: Assemble your new ICO
Replace the old ICO
- Take out your ICO to be replaced from the water and dry it with a soft cloth
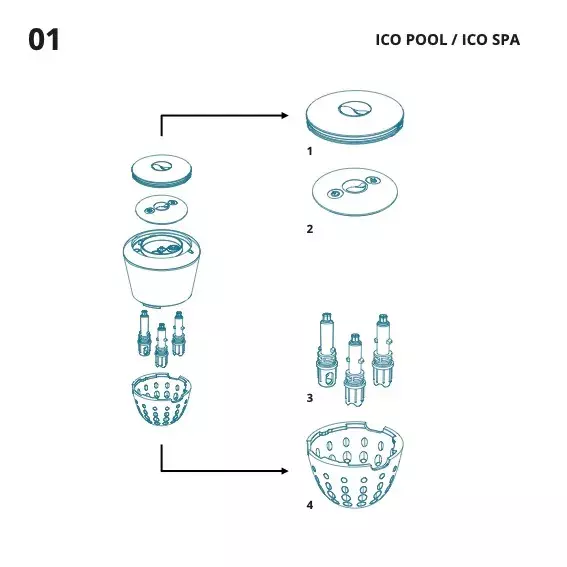
- Open the probe cover of your ICO (Figure 4) to access the probes
- Remove the three probes (Figure 3)
- Remove the top cover (Figure 1) and sub-cover (Figure 2) using the small tool included in the ICO Pool and ICO Spa box
- Put these things aside, you will need them for the next step
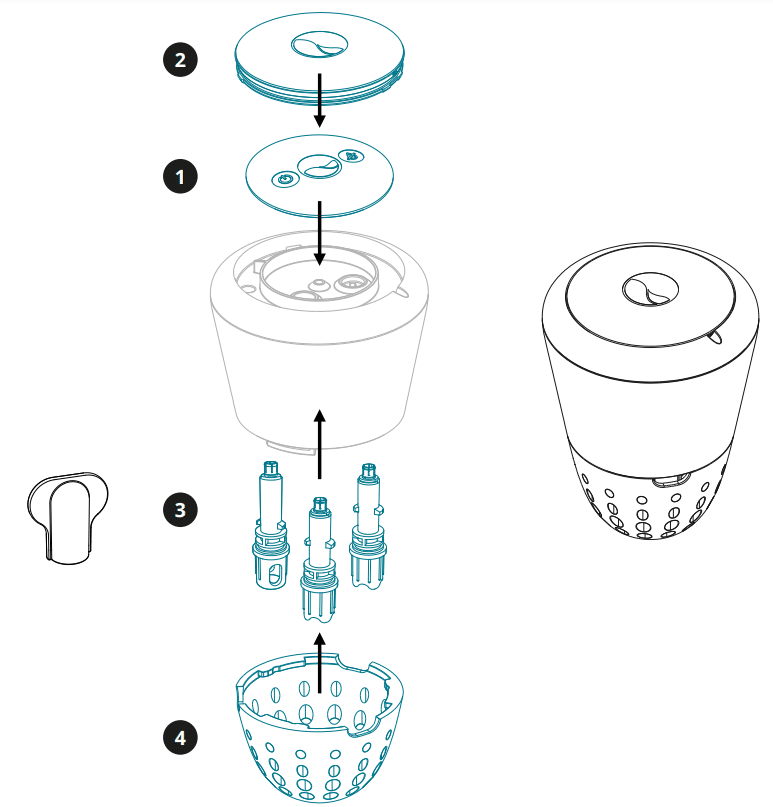
Assemble your new ICO with ICO Smart Core
- Take out your new ICO Smart Core from the box
- Press the button ON for 3 seconds (3 green flashes when ICO is on)
- Replace the sub-cover (Figure 2) and then the top cover (Figure 1)
- Place the three probes (Figure 3) in the ICO Smart Core making sure they are locked using the pictograms
- Replace the probe cover (Figure 4)
Step 2: Set up your ICO in the application
Disassociate your old ICO
- Open the application
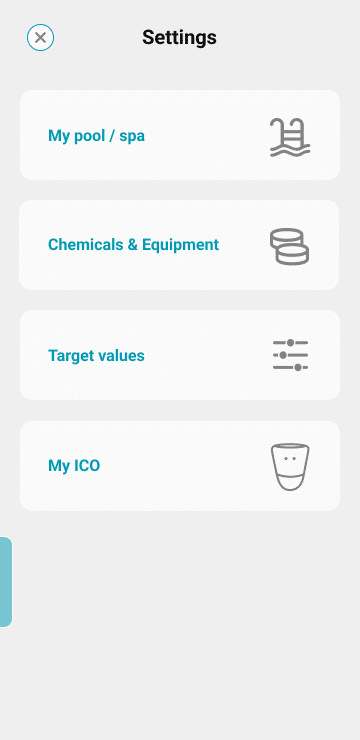
- Click on the middle button at the bottom of your main screen to access the settings
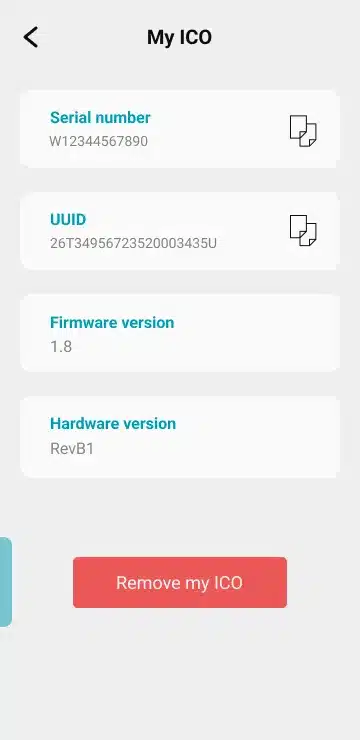
- Click on the section " My ICO"
- At the bottom of the page, click on " Remove my ICO"
Associate your new ICO
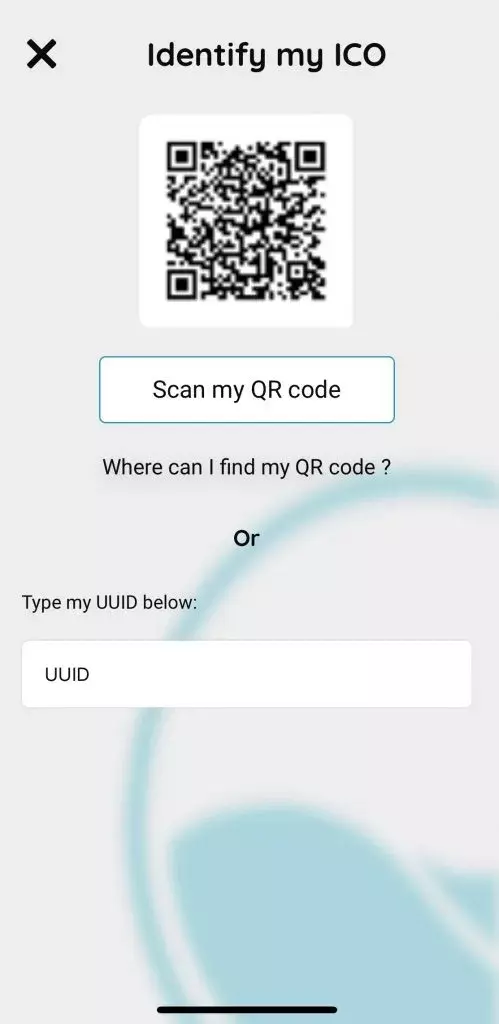
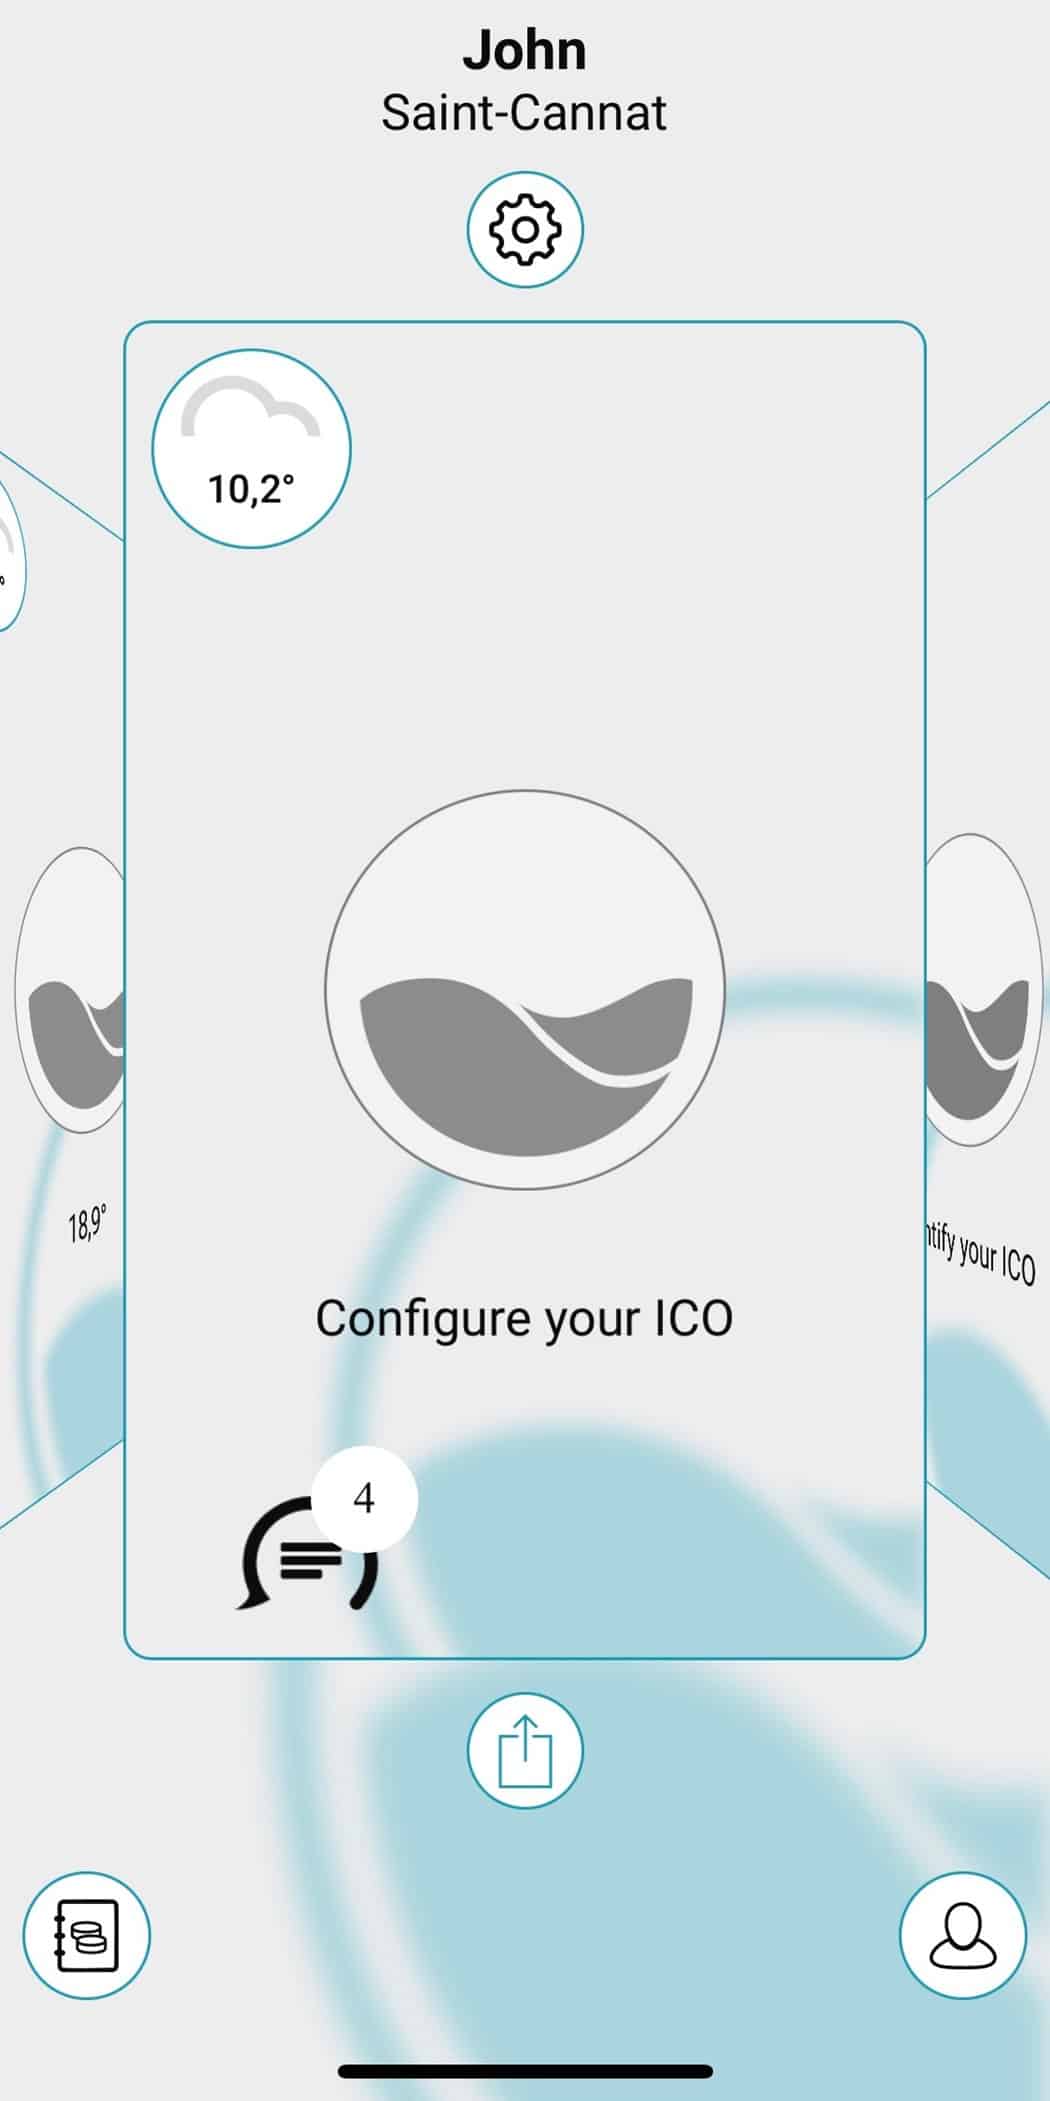
- In your application, click on "Identify my ICO"
- Scan the QR code located on the label (inside of the ICO Smart Core box)
Follow the instructions in the app
- Put ICO in your pond
- Set up the Wi-Fi connection
- Start and receive the first measurements
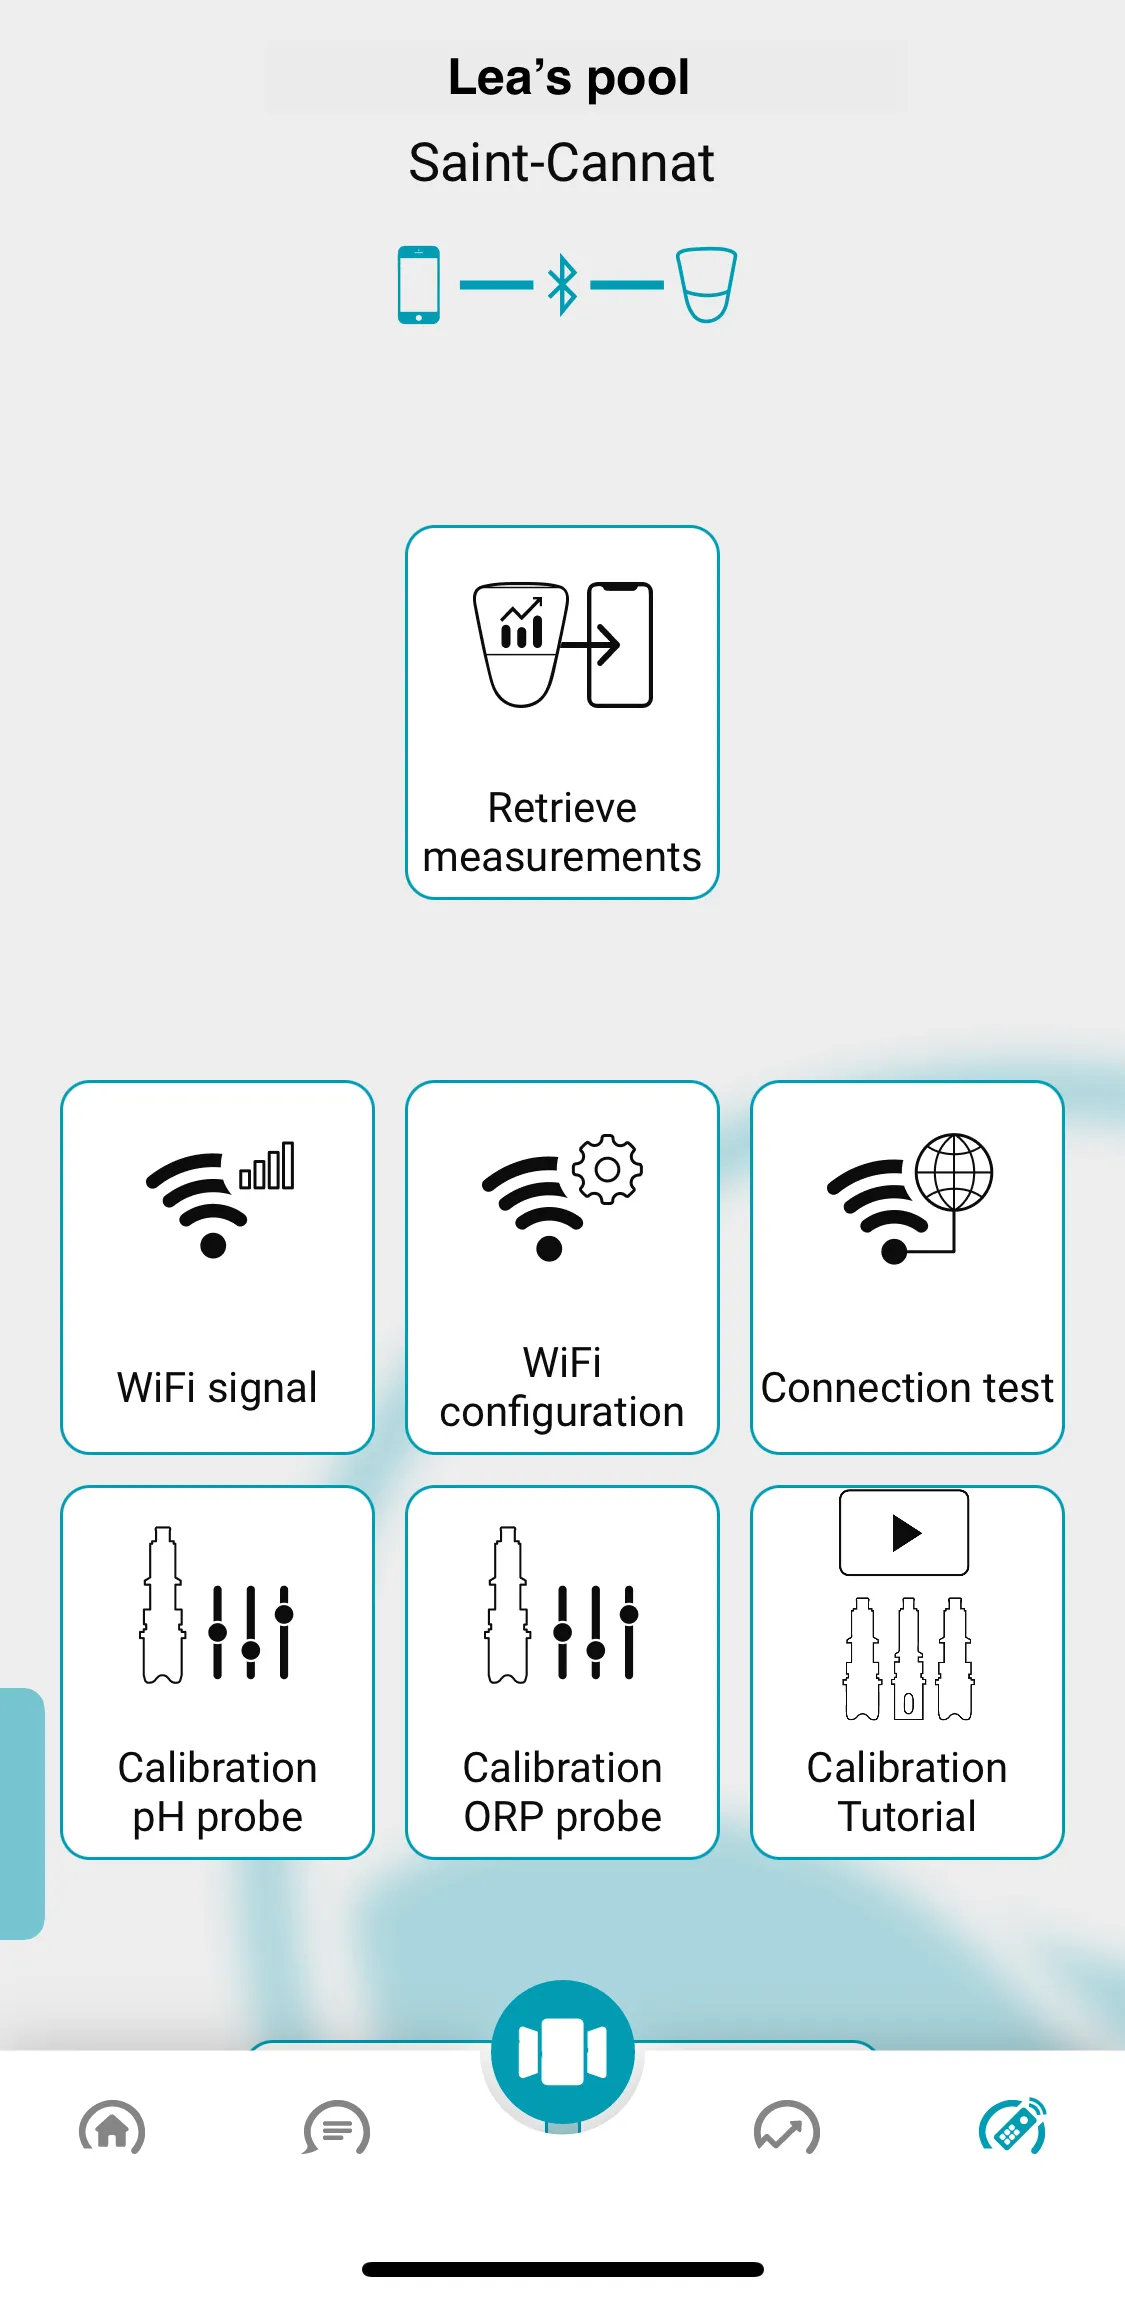
Step 3: Calibrate your ICO probes
Leave ICO in the water
- Leave ICO in your spa or pool water for at least 8 hours
Calibrate the probes
- Get ICO out of the water
- Finish with a calibration of your pH and ORP probes for a complete reset of your ICO
How to recycle your old ICO?
Several options:
- Find recycling centres for electronic components near you: https://www.ecosystem.eco/en
- Some DIY shops are equipped with a sorting bin (electronic components)
- The waste disposal centre next to you.